

You could use most any dish drying mat,or even a plain ole kitchen towel would work.(I was going to do towels to match,but need to pick up a couple first) This is the dish mat I like to use,they are a nice compact size 16x18,and are fast drying as well.

I am using my Circle Rulers by Lori Holt for this project,but you could use any round object that you can trace around. Plates,cups,pill bottle caps...

This is a great scrap buster project,I am using the scraps left from making my Watermelon Twister Bag.

The center circle will be made up of two different fabrics,to do that you will need to sew four squares together like the photo above. Make sure to use scraps large enough to accommodate your circle. My center circle is 7" around,so my square needs to be at least an inch larger.

(I know this is actually my 5" circle,so just pretend it is the 7")
What you need to do is to center the circle evenly on the square. This is where the ruler comes in handy as it has lines and a center dot to help you achieve this.

On the Wrong side of the fabric square center your circle and trace around it with a marking tool,I just used a pencil.

You will need something for the backing,I am re-cycling a used dryer sheet. You could also use sew-in-interfacing(feather weight) or another lightweight fabric such as muslin.

Place the dryer sheet(or whatever you are using for the backing) on your work surface. Place the fabric square Right Side Down on top of that. Pin to hold the two pieces together.

Sew right on top of the traced line that you just drew. Sew all the way around the traced circle,so that you have a sewn a complete circle.

I should have used a different colored thread so you could see it,sorry. This is a photo of the stitched circle.

After sewing the circle,I use my pinking shears to trim the circle leaving a 1/4 inch all the way around.
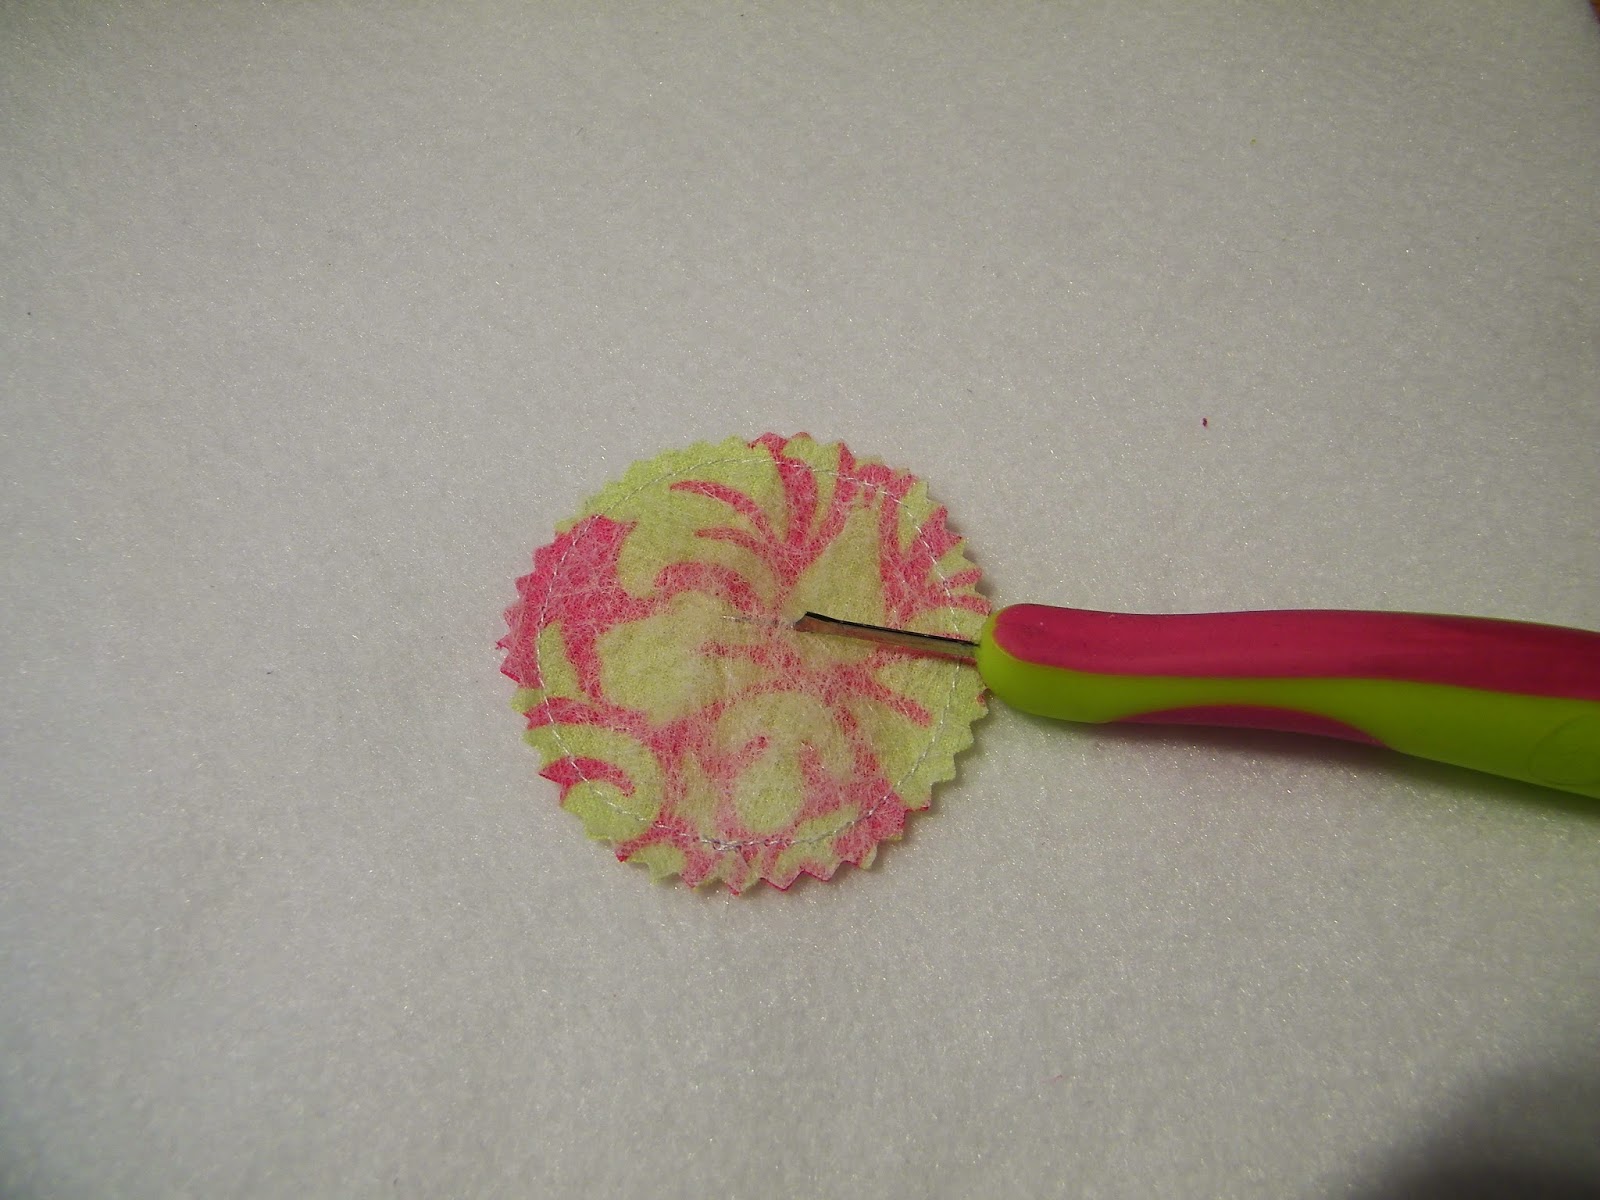
Take your seam ripper and make a short slit in the backing material only,Not the fabric.

Take your scissors and carefully snip an opening for turning your circle. I like to snip an x large enough to turn the circle right side out,but be careful not to get too close to your stitch line.

Carefully turn your circle right side out. I run my finger around the inside at the seam to help shape the circle.

Once the circle is turned give it a quick press. Pretty :)

For my dish mat I will be using one large circle and eight small circles. Here are six of my eight small circles all stitched to the dryer sheet. Also all of my smaller circles are a single print. Make your's however you like.

Pin the circles to the dish mat in a pattern you like. You can use an applique or other fancy stitch on your machine to attach the circles,or just use a straight stitch.

Now all I need is a few dishes to wash so I can use this sweet new mat! Hope you enjoy,and make yourself a new dish mat too.

Thanks for the tutorial! Cute little mat, it will make a great gift!
ReplyDeleteSweet circles! They really brighten up that mat. Nice tutorial, CeLynn. Thanks so much for sharing!
ReplyDeleteI love this! So much more cheerful than my boring dishmat!
ReplyDeleteYou can come over to my house I always have a lot of dishes :) Great tutorial, thanks for sharing.
ReplyDeleteGreat tutorial CeLynn! What a fun way to add more fabric in everyday things! :)
ReplyDeleteThank you for linking up to Fabric Frenzy Friday!
-Lindsey
Fabric Frenzy Friday
Cute! Having a new drying towel can almost make doing the dishes enjoyable:)
ReplyDeleteThe possibilities are endless... a dish drying mat with a beach scene, or an underwater ocean scene complete with turtle, or an eagle soaring with other little birds, or some tropical fish, or random swirls. I like this dish mat idea. It is even simpler if you can do it with a regular kitchen towel too.
ReplyDelete