
 |
| Things needed for this project... Jars Whatever type you like,they just have to have the same size opening as the bottom of the solar light. Solar lights The ones that have the removable top Glue I use Liquid Nails clear seal To attach the tops Modge Podge/Paint brush Red, White & Blue tissue paper Wax Paper Heavy Books |
 |
| Modge Podge directly onto the jar,then wrap your tissue paper around the jar over the Modge Podge. Repeat for each color of tissue paper on each jar. |
 |
| Here is the first jar all done and starting to dry/ cure. |
 |
| I am making a set of 6 jars in this project. Here they are all done and drying/curing. |
 |
| While you are waiting for the jars to dry,remove the tops of your solar lights from the stakes they are on. Do Not Pull out the little orange battery tab yet tho! |
 |
| When the jars have dried/cured,snip off the tip of your liquid Nails tube of sealer. It will be much easier to apply if you snip the tip at an angle. Gently squeeze the liquid nails all the way around the edge of your solar light top.(make sure that you are applying the liquid nails to the bottom side of the solar light) |
 |
| Once you have applied the liquid nails,carefully pull out the orange battery tab. You might need a pair of needle nose pliers to do this,it just depends on how tight they are. I only had to do this with two of my lights. The reason you should wait to pull out the orange tabs is because those little lights are pretty bright! And it will be harder for you to see to apply the liquid nails with the light shining brightly in your eyes! |
 |
| Here is the first one with the solar cap/top attached. |
 |
| All six of my red ~ White & Blue jars with the cap/tops attached. |
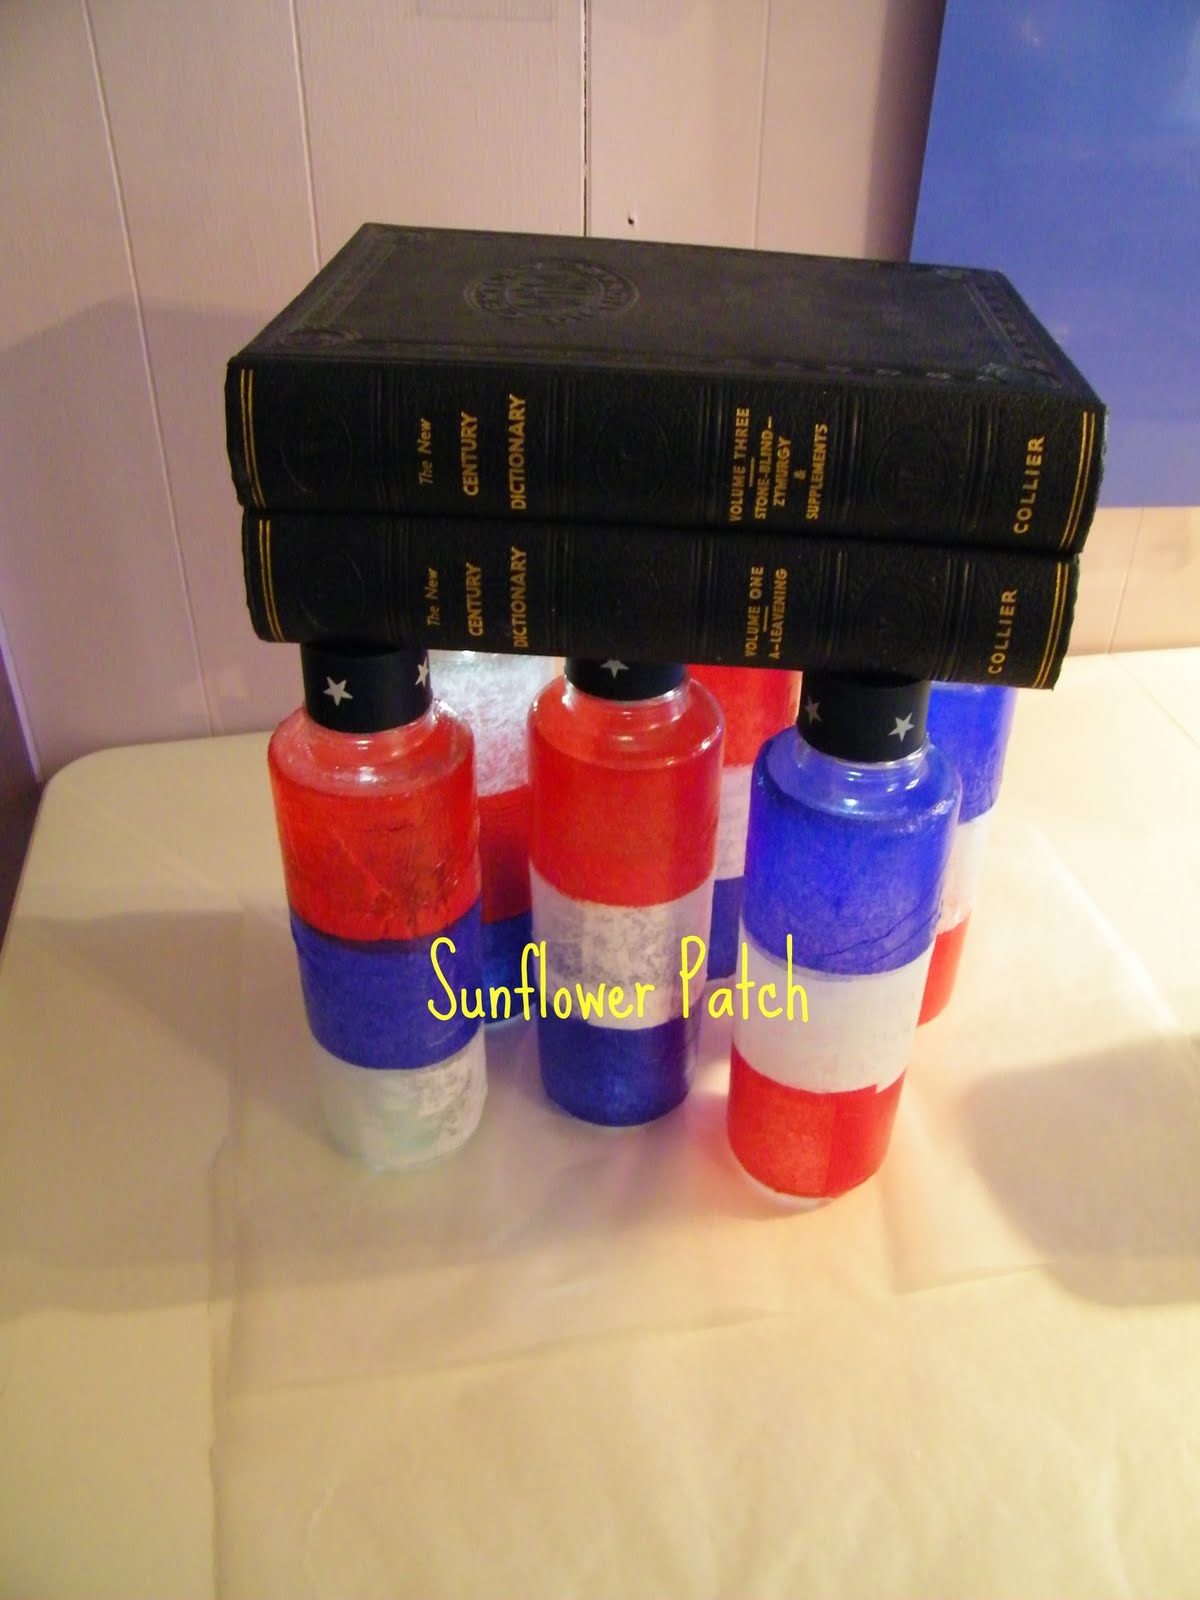 |
| Now place your jars all together and place several heavy book,or something heavy on top of them. Refer to the directions on the liquid nails tube for curing time. I let mine cure 24 hours. |
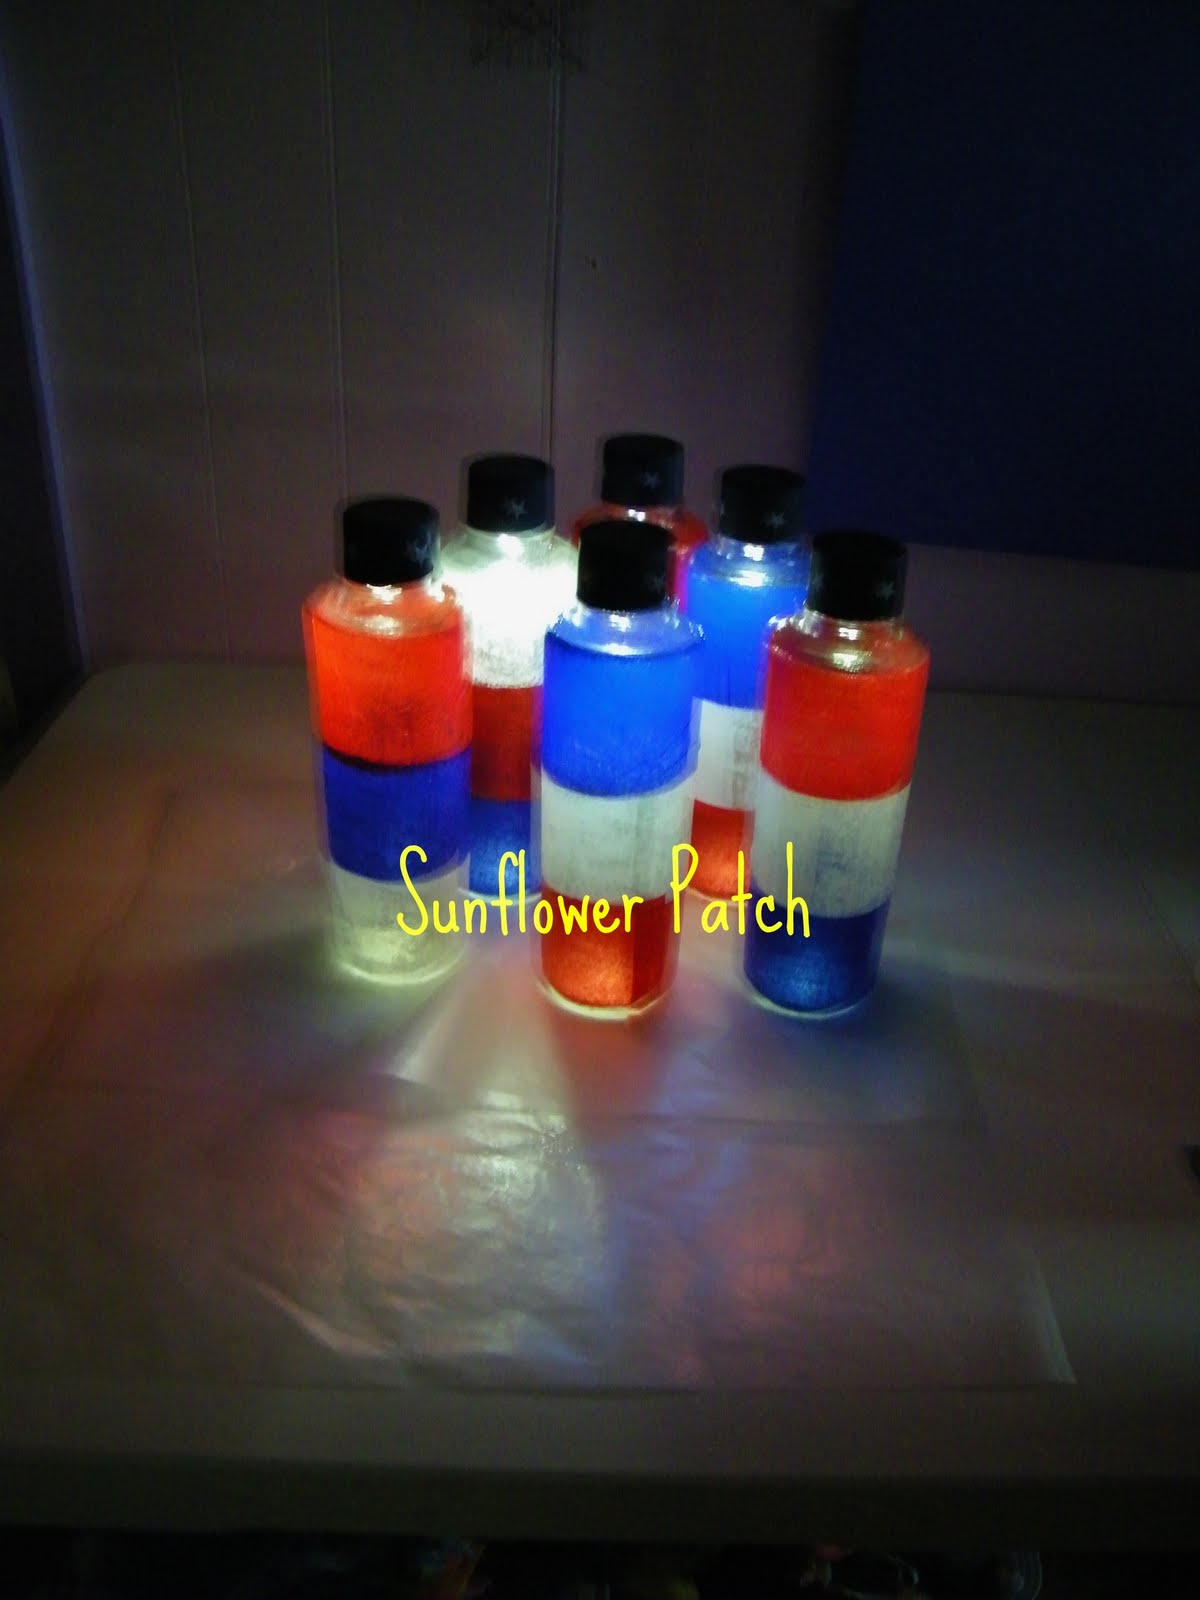 |
| There you have it! Your own Patriotic solar lights! Happy Independence Day Everyone :) Sew,what do you think of my watermarked photos? You can find the tutorial on how to do this at the SewHappyGeek blog. Check it out! |
Those are cute and seems pretty simple! Thanks!
ReplyDelete