

For the first pillowcase I used some fabric purchased from Hancocks a couple years ago. It is called Defenders of Freedom. The pillow panels did not run the right way for me to make a pillowcase,so I ended up cutting them apart and piecing them back together. This is one side/pillow panel

This is the other side. Some of this fabric was used it Gil's quilt,the rest has just been sitting in my stash waiting for the right project to come along,and here it is!
Pillowcase Tutorial:
For this project you will need the following supply's

- basic sewing supply's,sewing machine,scissors,thread,ruler,etc.
- three different fabrics coordinating or contrasting
- fabric for body 27 x 44 inches
- fabric for the cuff 9 x 44 inches
- fabric for insert strip 4 x 44 inches (you can use a different size width here depending on if you want a wider or narrower insert strip)

Take your insert strip and fold wrong sides together lengthwise,as pictured above.

Press along the entire 44 inch length.

Lay out the fabric for the body of the pillowcase right side up,take your insert strip and lay it on top of the body fabric raw edges together.

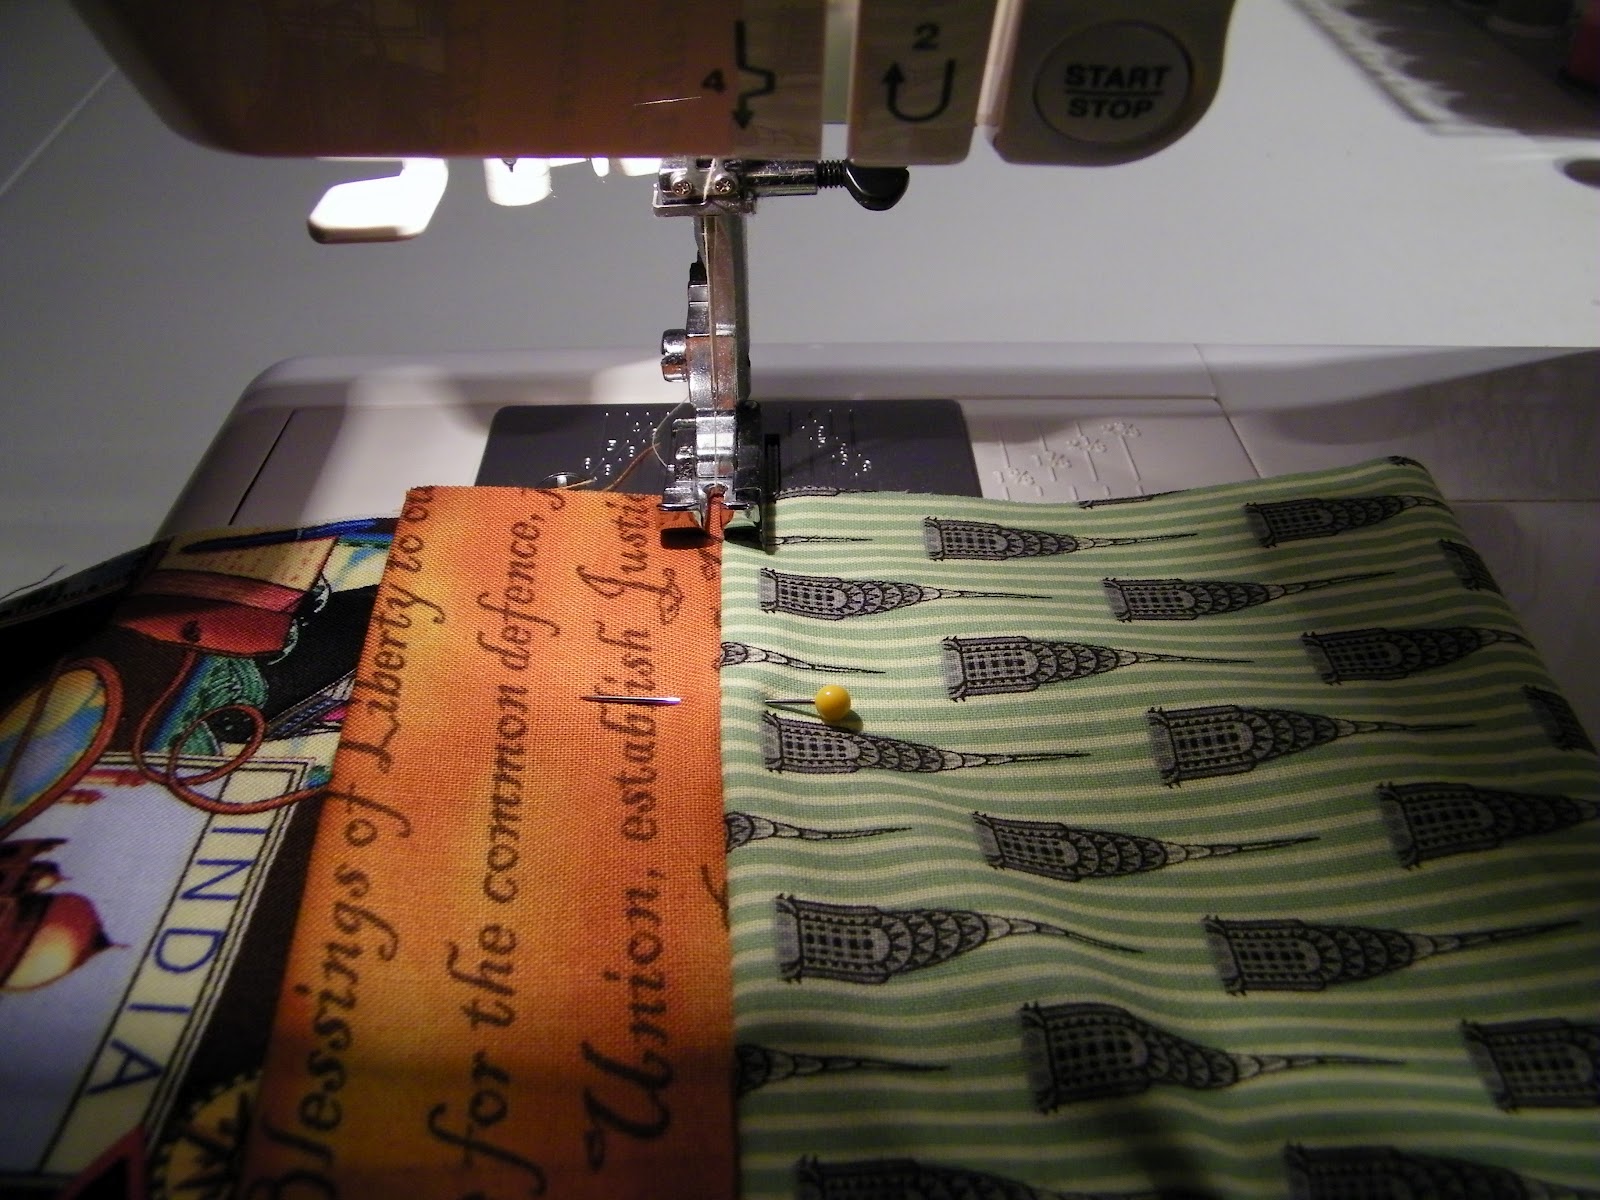
Next take your cuff fabric and lay it right side down on top of the other two fabrics,like in the photo above. Mine is offset just to show you,make sure that you line them up to sew them together.

Here all my fabrics are lined up ready to sew. Sew all three layers together with a 1/4 inch seam,the entire 44 inch length.

Here is what it should look like after you have sewn the three pieces together. Press the seams toward the cuff.

Like in the above photo.

Along the top/raw edge of the cuff fold over 1/2 inch,


Fold your cuff piece wrong sides together,to the inside,covering the raw edges of seam you just sewed.

Pin to keep your fabric in place,removing the pins as you come to them.

Ready to top stitch.
Top stitch a tiny 1/8 inch from the cuff side,as pictured above. Being careful to catch all three layers of fabric.

This is what will happen if you do not catch all three layers! I had to re-sew this spot!

Press your cuff to get a nice crisp flat top edge.

Fold your pillowcase wrong sides together and again sew a tiny 1/8 inch seam all along the raw side and end edges.

I know you are thinking What? Trust me ;) We are sewing what is known as a French Seam.

Here is my tiny 1/8 inch seam. You can just see the beige thread on the darker brown.

Turn your pillowcase wrong side out,making sure to push out both corners to make nice points. Just like if it was right side out.

Now sew the same two sides with a 1/4 inch seam.

Turn your pillowcase right side out again,and push out the corners,and press the edges.

There you have it,a beautiful handmade pillowcase! Pat yourself on the back for a job well done :)

I am hoping to make at least two more to send and then a few e reader cases too.
Hope you make yourself and Melissa some beautiful pillowcases,enjoy!

That is beautiful fabric. Thank you for the tutorial. You have a great profile picture!
ReplyDeleteI really like the Remember September pillowcase, such vivid colors and imagery! Nice tutorial also, mistakes and all. When I look at your amazing stuff, I think I could never make all that cool stuff, it looks way too complex! But you not only break it down, but give me hope by telling me that you mess up along the way and it still turns out alright. : ) Keep up the tutorial-ing
ReplyDeleteFantastic tutorial!!! Thank you so much for everything CeLynn and thank Gil for his service too! Hugs!
ReplyDelete