Monday, July 4, 2011

Craft Fair update

Today was the craft fair that I have been preparing for ,for the
last 3 weeks.
We got there bright and early and set up.
My things are on the right side of the  booth,and the lady
I shared the booth with set up on the left side.

We managed to stay in the shade for most of the day :)
Which is good,because I wilt in the heat!

A close up of my pillow table and also some of my bags,and
one of my tubs with fleece blankets.

Here is the little magnetic board with the cutest little crocheted
Sun bonnet Sue's that Maggie made:)

Last but not least,the crocheted Patriotic decorations she also
made.  She gave Mr.P and I one after the fair :)
So the out come..
I made over half of the cost of an EZ-Up tent that I have been watching on
eBay! (so that I can do any craft fair I want to )
It has been an awesome day so far.
In about an hour we will be enjoying the fireworks from the comfort
of our deck :)
Happy Independence Day!!!

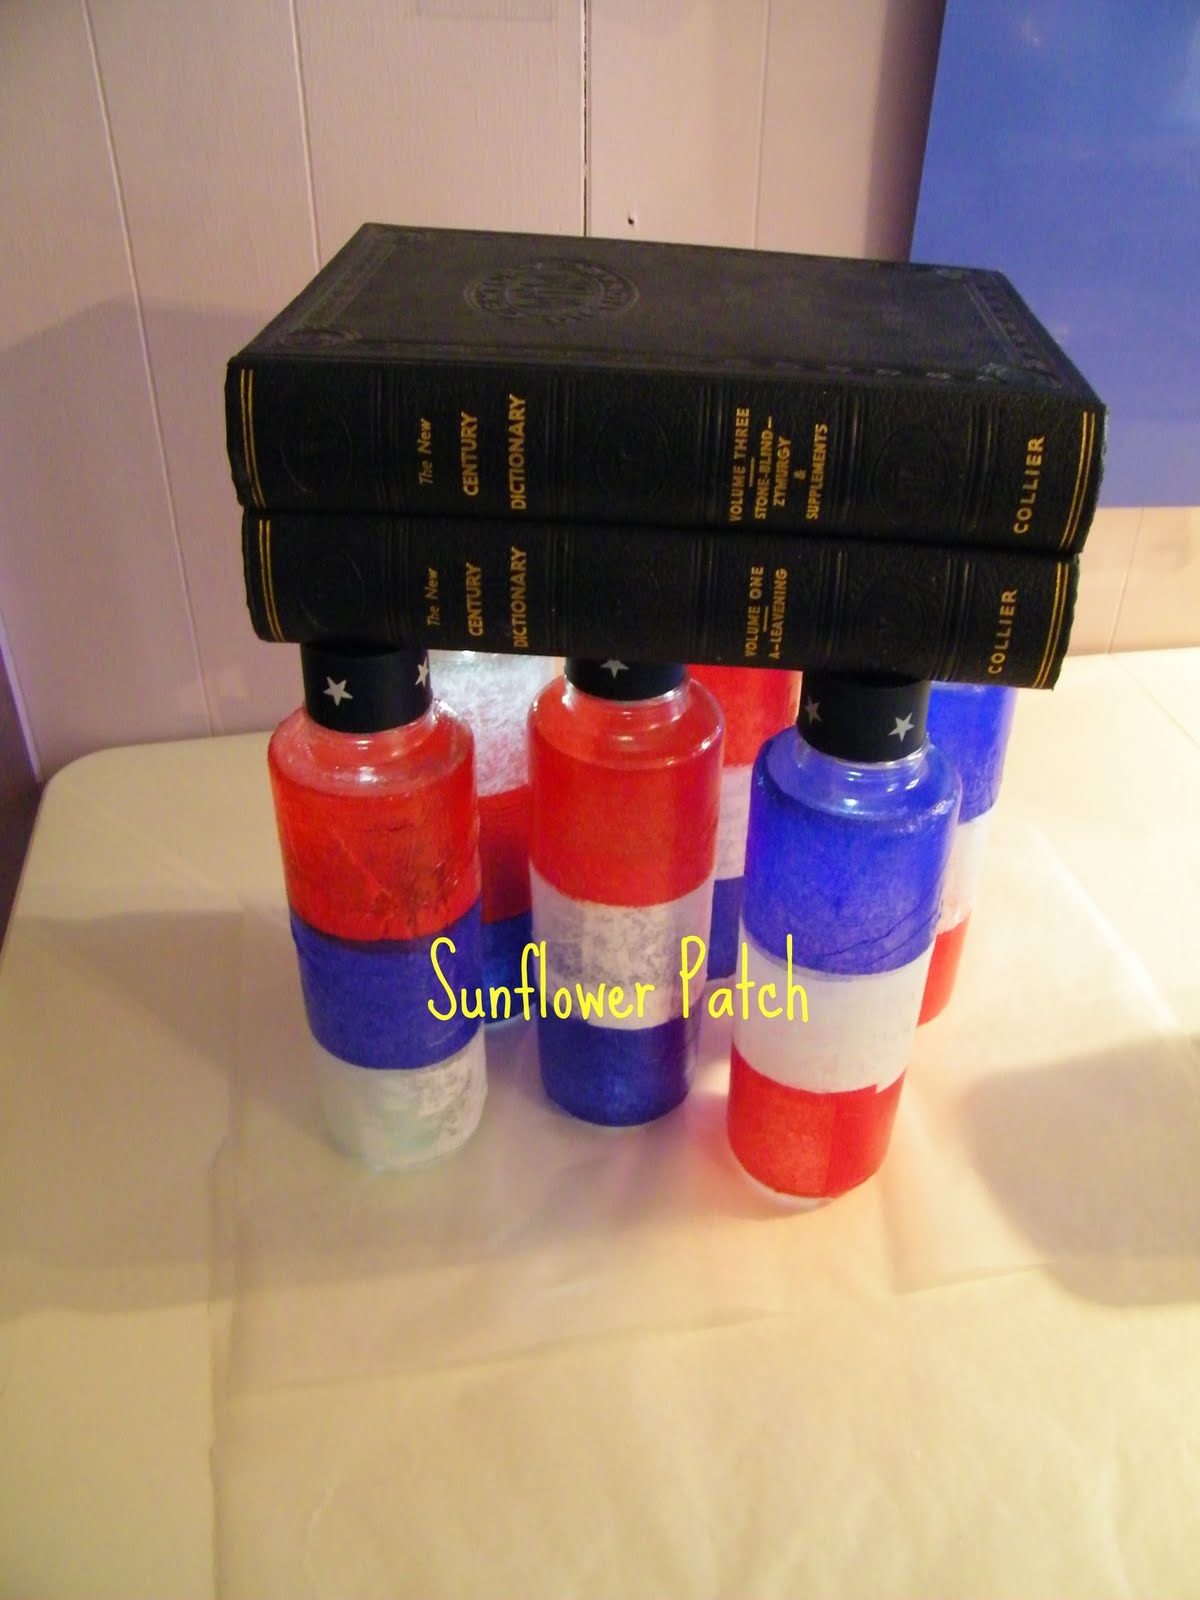
Solar Light Tutorial

Things needed for this project...
Jars

Whatever type you like,they just have to have the same
size opening as the bottom of the solar light.
Solar lights

The ones that have the removable top

Glue
I use Liquid Nails clear seal
To attach the tops

Modge Podge/Paint brush

Red, White & Blue tissue paper

Wax Paper

Heavy Books

Modge Podge directly onto the jar,then wrap
your tissue paper around the jar over the Modge
Podge.
Repeat for each color of tissue paper on each jar.

Here is the first jar all done and starting to dry/
cure.

I am making a set of 6 jars in this project.
Here they are all done and drying/curing.

While you are waiting for the jars to dry,remove the tops of
your solar lights from the stakes they are on.
Do Not Pull out the little orange battery tab yet tho!

When the jars have dried/cured,snip off the tip of your liquid
Nails tube of sealer.
It will be much easier to apply if you snip the tip at an angle.
Gently squeeze the liquid nails all the way around the edge of
your solar light top.(make sure that you are applying the liquid
nails to the bottom side of the solar light)

Once you have applied the liquid nails,carefully pull out the
orange battery tab.  You might need a pair of needle nose
pliers to do this,it just depends on how tight they are.
I only had to do this with two of my lights.

The reason you should wait to pull out the orange tabs is
because those little lights are pretty bright!  And it will be
harder for you to see to apply the liquid nails with the light
shining brightly in your eyes!

Here is the first one with the solar cap/top
attached.


All six of my red ~ White & Blue jars with the
cap/tops attached.

Now place your jars all together and place several
heavy book,or something heavy on top of them.
Refer to the directions on the liquid nails tube for
curing time.
I let mine cure 24 hours.

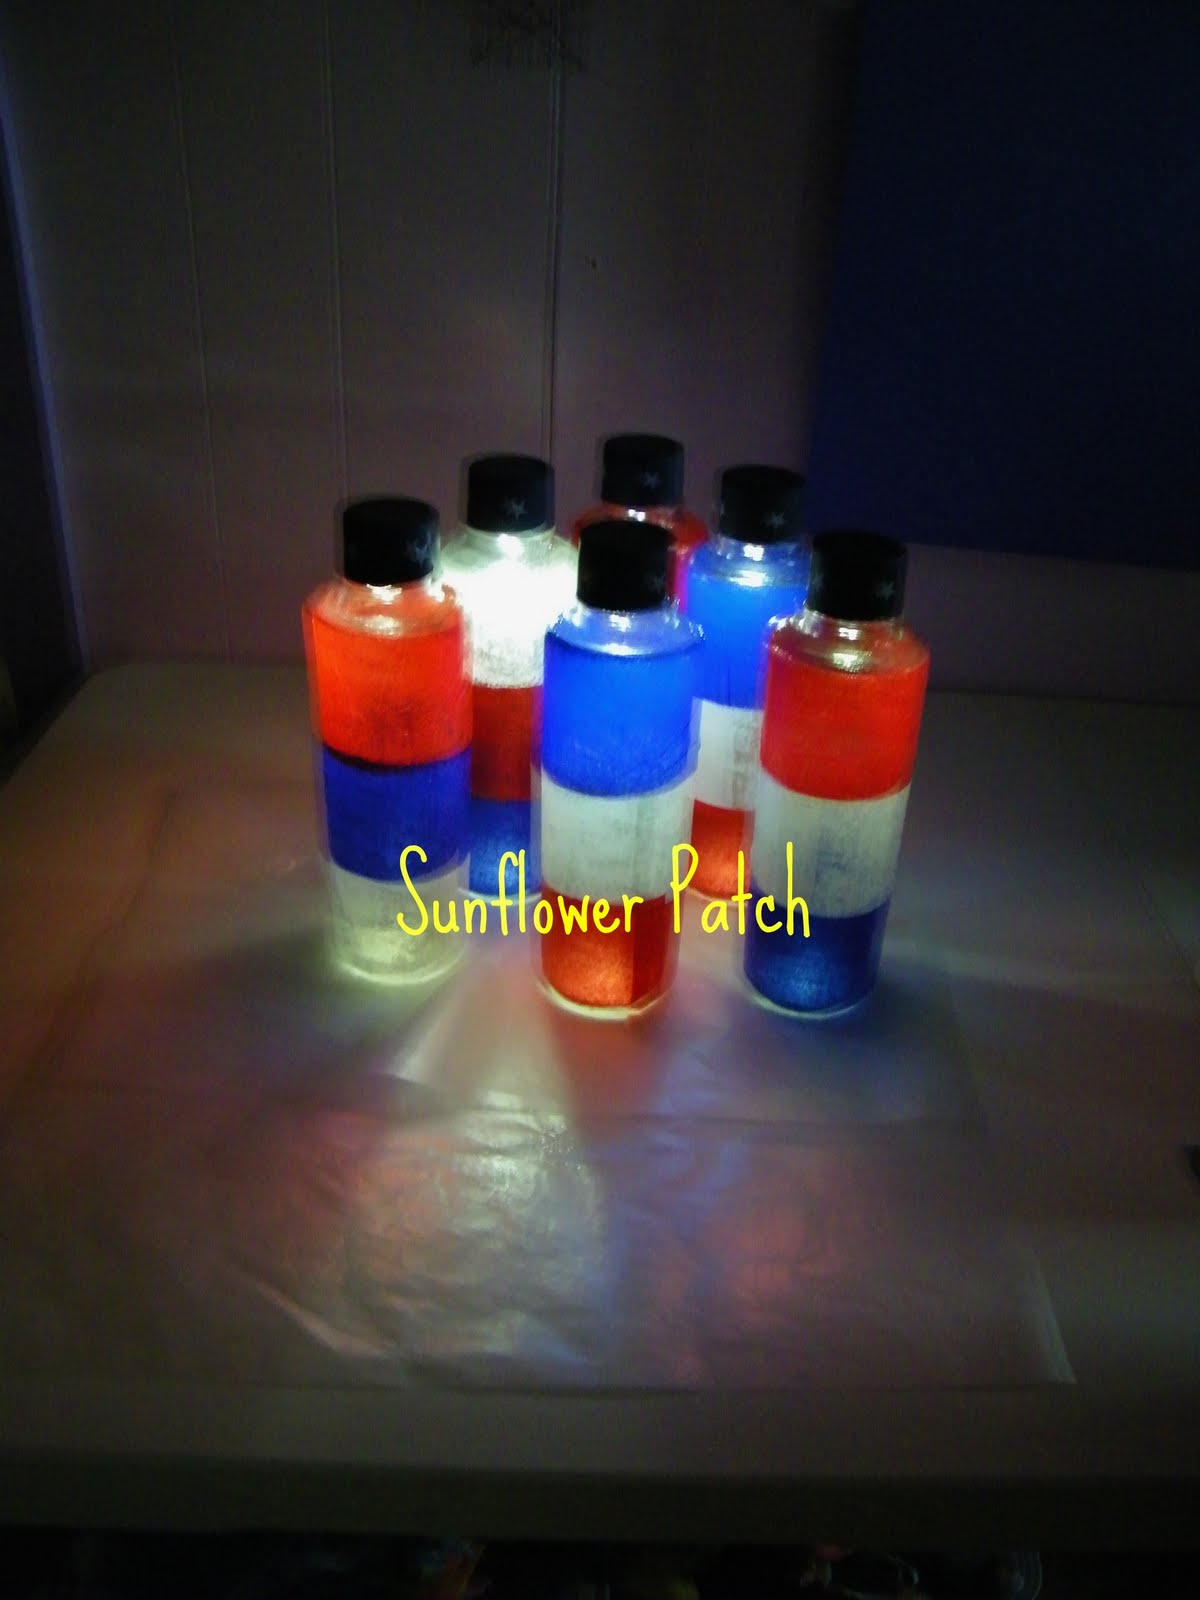
There you have it!
Your own Patriotic solar lights!
Happy Independence Day Everyone :)

Sew,what do you think of my watermarked photos?
You can find the tutorial on how to do this at the  SewHappyGeek
blog.  Check it out!

Saturday, July 2, 2011

enough is enough!

I am really ashamed to post this photo!
This morning, I sewed up six sets of burp cloths to add to the growing
pile of things for the craft fair.
Then had a yummy chicken salad sandwich for lunch :)
When I came back to do some more sewing,this mess that is my sewing
room was screaming Clean Me Up!
So,that is exactly what I did.  For the next 2-3 hours,I re arranged  and
cleaned.

Here is the first photo of the re arrange.
My sewing table was between the two tiny windows.
Which is not bad in the winter,in the summer however it is
bad!  The reason being, I live in a tin box (old mobile home).
So there is very little air movement if any at all.  And with the
table in the middle of both windows,if there was a breeze I sure
never felt it.
Now at least if there is a breeze I will at least feel it,however slight!

Moving around to the right from where my sewing table is now.
Sorry the photos are a little dark.
Since I moved everything around,I now need Mr.P to move my
lighting too.
To the left you can see one and part of the other bag trees that
Mr. P made for all of my bags to be displayed on :)
They are full to overflowing right now!
Hope I sell a bunch of these on Monday!

A little better view of the second bag tree.
Also part of the back wall.

My fabric stash closet behind the door.
We need to get either carpet or linoleum in this room.
Maybe that will happen later this summer or fall.

Friday, July 1, 2011

summer project update

This evening after work I decided that it was time to take a
little break from all of my craft fair sewing.
This Zippy Strippy bag pattern was on my list of things to
do this summer.  So I pulled it out and got to work with the
one thing that always takes me the longest,in almost all of
my projects.  Picking out the fabrics that I want to use!
Of course they all came from the scrap bin :)
My favorite is the owl pouch, and then the lady bug is
second.

What I absolutely did Not like how the zipper is put in with
this pattern.  So am going to have to figure out a better way
the next time I make these.
They are all the small size,so that I could use up some
scraps :)
Maybe next time I will try the medium & large sizes.

Sunday, June 26, 2011

Sew busy/ Giveaway

I know this is kind of a cheater craft but...
I did fill all of these wonderful baby shower gift
baskets with lots of goodies for the newly arrived,
or arriving soon precious little bundle of joy!

The twelve produce bags that took me most of the week!
Have you ever had a project that just seemed to take
forever?
This was one of those for me!
But they are finally finished :)

Lots of fabric covered journals for your writing pleasure!

Mr.P had to vacate his weekend haunt for this and the next
picture!
16 fleece blankets!
1 baby size
3 toddler size
12 adult size

4 quillows
My favorite,eeyore :)

Last but certainly not least,what you have been waiting for!
The Giveaway!!!
Sew since I have been such a terrible host at posting lately,
I thought that this would be a nice way to say Thank You
for your patience :)  (about my lack of posting lately)
These three fabrics above,Jolene brought me from
Mexico a couple of years ago when she was there
studying abroad one summer.
I don't know what type of fabric it is (sorry) it is a light
weight fabric.  And as you can see very bright!
I will be sending about 1/2 a yard of each
print to the winner.  And whatever else I chose that
will fit in the envelope :)

Sew,how do you win???
Just leave me a comment about....
Anything you feel like!
That's it!
You do not have to be a follower
But,make sure that I have some way to get in touch
with you  if you WIN
GOOD LUCK :)
Giveaway will run from 6/26/11 ~ 7/6/11