Showing posts with label solar lights. Show all posts

Saturday, July 21, 2012

Citrus Bag ~ & ~ other stuff

Today started out sunny and hot and ended up grey and comfortable!  I am okay with that especially since the hot left for parts unknown.  This afternoon there was finally time to sit down and do some sewing :)


Here is my new Citrus Bag!  It is designed to be a "carry all" kind of bag/tote,but it will mostly be used as a shopping bag.  The name comes from the bright citrus colors in the fabrics used to make it.  The fabric that makes up the top portion of the bag has been in my stash for a few years.


I re-discovered it recently while straightening up the stash,and pulled it out.  It went onto the corner of my sewing table where it sat until inspiration nudged me in the bag/tote direction :)  Do you ever "re-discover fabric" in your stash?  There are two pockets inside that go up about 3/4 of the way towards the top of the bag.  They are made from the main fabric used on the outside of the bag.


You can see how grey it is in this photo.  The dimensions of the bag are 13 inches tall/high by 12 inches end to end by 5 3/4 inches across the bottom/side to side.  Quite roomy for holding grocery's or whatever you are purchasing.


This is my latest set of solar lights.  I found the glasses at the same thrift store as the owl jar,and just loved them!  The thing that makes them so cool/unique is the fact that they are all staggered in height.


A close up of one,of the three.  I was calling them wine/champagne glasses,but Mr. P says that they are Cordial glasses.

This shot will give you an idea of just how tall these are,remember the bag is 13 inches tall/high.  This set is available in my shop.


My inspector of all things crafty,Midas,was not to pleased about having to inspect from the window ;)


He decided to go pout in the garden,I am sure that he is pouting since he looked everywhere but at me while I had the camera!

Now its off to cut some Christmas fabric up into 112 5"Charms for a swap!!!


A parting shot of the glass coffee/espresso solar lights that light the stairs at night.

Wednesday, July 18, 2012

A little Garden update

Since this week has been mostly spent outside,I decided to show you a few photos of how the garden is progressing.


when this picture was taken only one of the little flowers was blooming,this evening the whole row of them was a bloom :)


The small patch of sunflowers in the garden are blooming pretty good now.  They always make me smile :)


The peas,peppers,tarragon,and the cucumbers are still a little small.  However since it is warming back up,it won't be long before they take off.


We had a salad for dinner,with all the goodies from the garden,yum :)  After dinner we harvested 4 gallon size bags of lettuce.  One row of it is hiding behind the Swiss Chard,we also picked 4 bags of it too.  Some of it is going to work with me,some with Mr. P.  The last bag of each will be staying in the fridge.  I picked 4 sandwich size bags of cinnamon basil to share also :)


Will you look at those tomatoes?!  We had to trim them up a bit,so the nutrients would not all be going to the limbs instead of the tomatoes themselves!  The Radishes are looking good also.


The squash are already producing nicely,this last weekend I baked 4 loves of Zucchini Bread :)


On the crafting front,this is my latest solar light!  I picked up this little owl jar the last time we were out thrifting.  Hopefully there will be time to sew,and finish up the grocery bag that is in progress,in the next couple of evenings.  Have you been enjoying all the fruits/veggies of summer ;)

Happy sewing,crafting,gardening!

Tuesday, July 5, 2011

fresh veggies & more solar lights

So there I was out in the garden pulling weeds today after work.
When I heard something calling to me,it sounded like Pick Me!
So that is just what I did :)
From top left...
Cinnamon Basil
Zucchini
Swiss Chard
Yellow summer Squash
Strawberries
Red Winter Kale
(the strawberries were great)
As will the rest of these goodies be too!

This is the pattern I am working on for my appliqued
flowers on my (very late) Posie Patch quilt.
I am thinking that this might actually be to big of a
sunflower.
since I don't have any extra fabric for making my sunflowers I am
going to sew one using a different fabric first.
In the back ground is a Lucky Bamboo plant that my
neighbor brought over this evening,a gift for looking after
her kitties this past weekend while she and hubby were out
of town!
They are such great neighbors :)

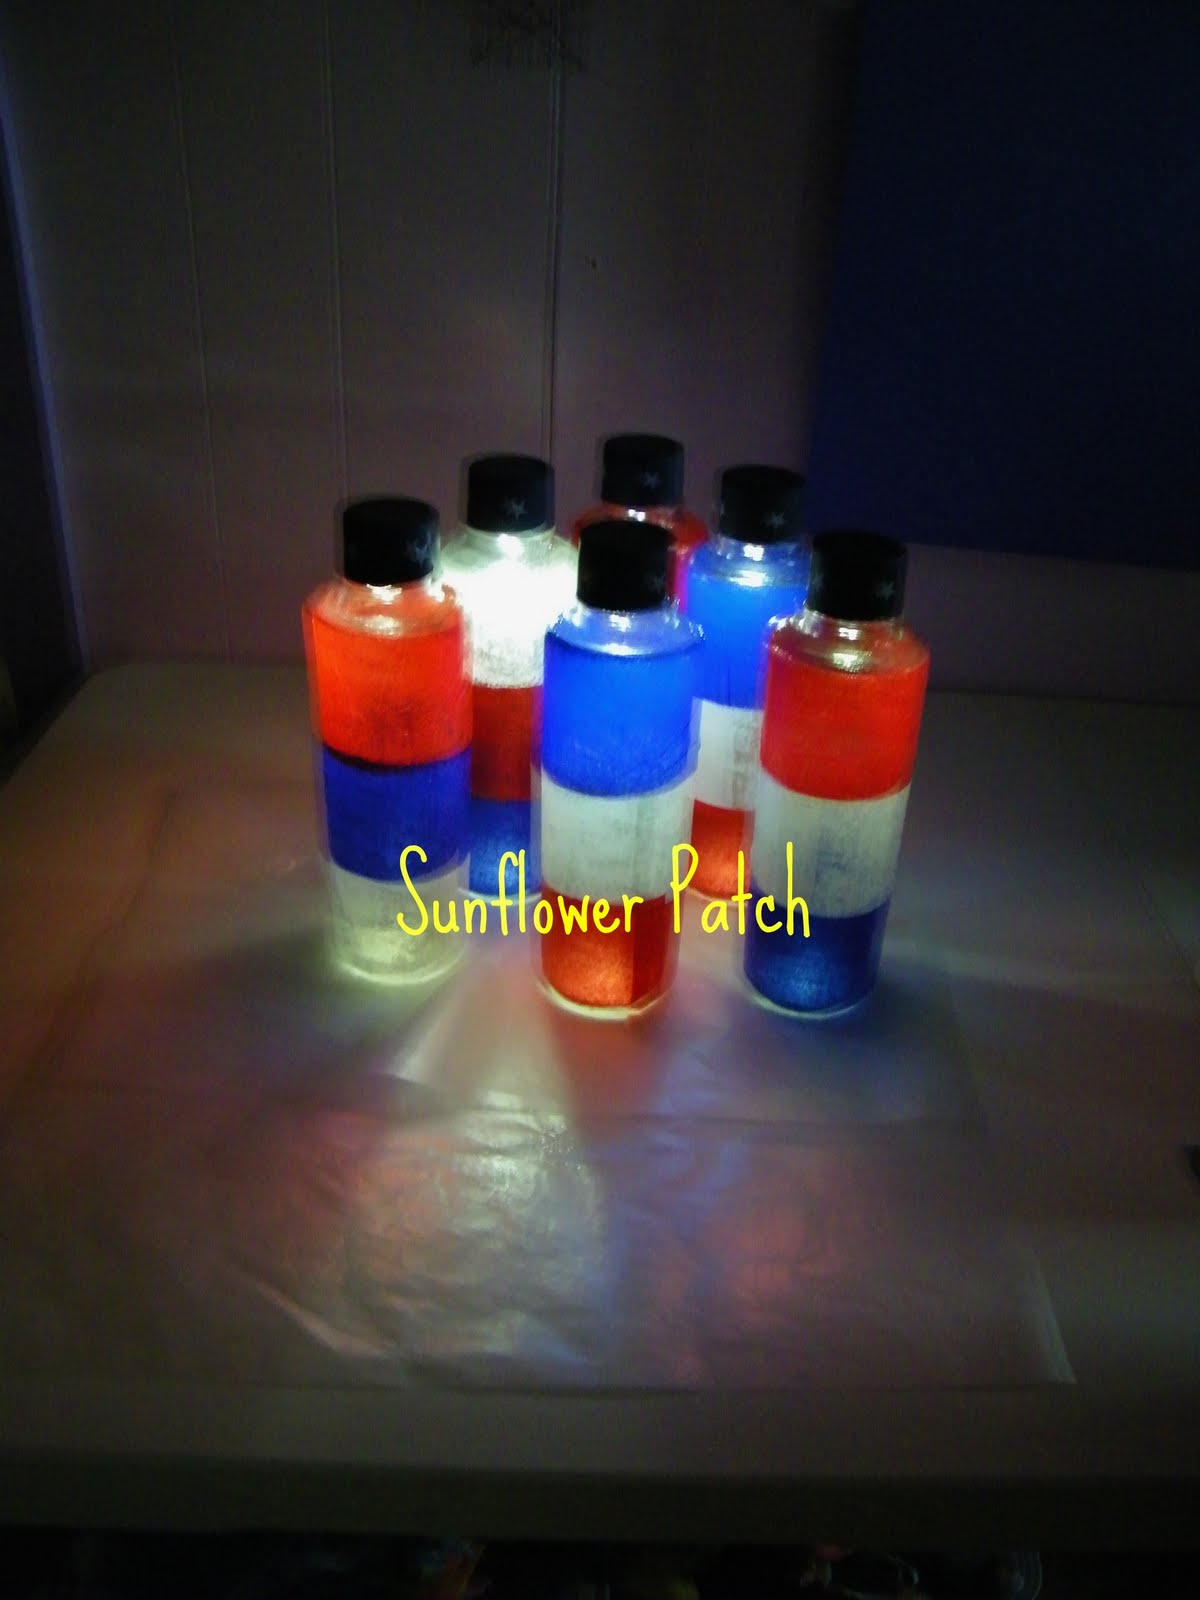
Here is another set of Solar Lights that I made up recently.
This is my Favorite set yet!

The light pattern they cast off is just so Awesome!

If you haven't entered my fabric giveaway yet,there is still a few more hours
for you to do sew!
Check it out here

Monday, July 4, 2011

Solar Light Tutorial

Things needed for this project...
Jars

Whatever type you like,they just have to have the same
size opening as the bottom of the solar light.
Solar lights

The ones that have the removable top

Glue
I use Liquid Nails clear seal
To attach the tops

Modge Podge/Paint brush

Red, White & Blue tissue paper

Wax Paper

Heavy Books

Modge Podge directly onto the jar,then wrap
your tissue paper around the jar over the Modge
Podge.
Repeat for each color of tissue paper on each jar.

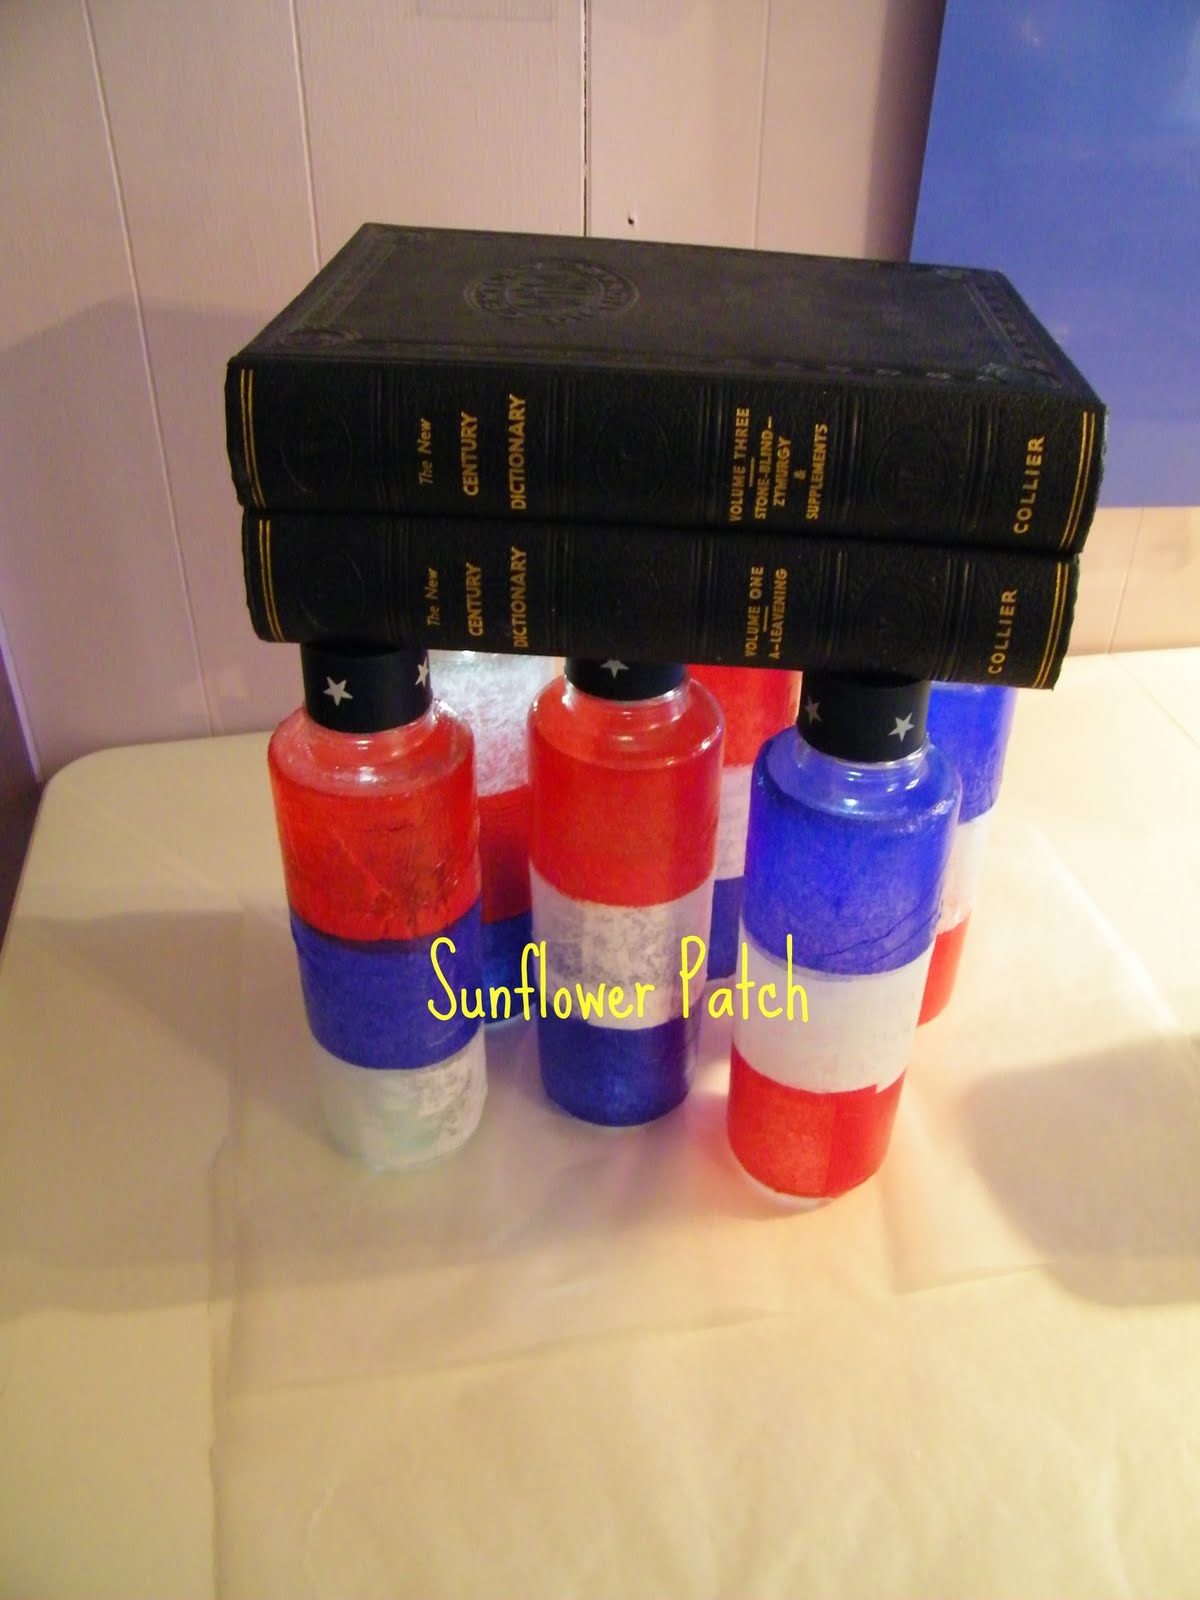
Here is the first jar all done and starting to dry/
cure.

I am making a set of 6 jars in this project.
Here they are all done and drying/curing.

While you are waiting for the jars to dry,remove the tops of
your solar lights from the stakes they are on.
Do Not Pull out the little orange battery tab yet tho!

When the jars have dried/cured,snip off the tip of your liquid
Nails tube of sealer.
It will be much easier to apply if you snip the tip at an angle.
Gently squeeze the liquid nails all the way around the edge of
your solar light top.(make sure that you are applying the liquid
nails to the bottom side of the solar light)

Once you have applied the liquid nails,carefully pull out the
orange battery tab.  You might need a pair of needle nose
pliers to do this,it just depends on how tight they are.
I only had to do this with two of my lights.

The reason you should wait to pull out the orange tabs is
because those little lights are pretty bright!  And it will be
harder for you to see to apply the liquid nails with the light
shining brightly in your eyes!

Here is the first one with the solar cap/top
attached.


All six of my red ~ White & Blue jars with the
cap/tops attached.

Now place your jars all together and place several
heavy book,or something heavy on top of them.
Refer to the directions on the liquid nails tube for
curing time.
I let mine cure 24 hours.

There you have it!
Your own Patriotic solar lights!
Happy Independence Day Everyone :)

Sew,what do you think of my watermarked photos?
You can find the tutorial on how to do this at the  SewHappyGeek
blog.  Check it out!

Sunday, May 8, 2011

Solar Lights & other stuff

So I saw a tute on a linking party for how to make these very
cool solar lights!  The problem is that for the life of me I can
Not remember which party or who's blog it was on!
Sorry!!!

I want to give credit, so if anyone knows please let me know
so that I can post a link and give credit.
These were so easy and fun to make!  In the tute they used
half pint mason/canning jars, but I just used jars from my
collection.  (I had bought lots of different jars when I was
making bath salts.

Here is the start of  our garden :)  This year I decided that we
would have raised beds.  One of our neighbors gave us all the
wood, he works for cdot(Colorado Department of Transportation).
Since these were last years they couldn't use them!!!
We ran out of light so didn't get everything planted, and had
to finish today. 
But I forgot to take pictures when we finished.

This is my Max & whiskers quilt all cut out, Yay!  I am so happy
that I was able to get it all cut this weekend! 
The mat underneath was a Mothers Day present to myself!
Leaning up against the table is a metal carpenters yard stick, which
is actually 47 inches long.  Perfect for sewing since most fabric
is 44-45 inches wide.  Mr. P bought it for me, because I have been
using a old piece of molding.  As the longest acrylic ruler I had was
only 18 inches long.

While at the apple blossom festival this weekend we found
this spinner.
The picture didn't turn out very well.  It has the Marine Cop.
emblem on it and says, United States Marine Corps.
Hope everyone else had as nice a Mothers Day weekend as
I did!