Thursday, December 25, 2014

Big-City Bags...the Final edition

This month for the BigCity Bags SAL (button on my side bar) we could sew up any of the bags in the book.  Since my favorite bag in the book is the Chandelier Swing bag,that is the one I chose to make.


All year long we have been sewing the bags from the book and not once have I used any of Sara Lawson's fabric.  Until now anyway!  For this one I broke into my FQ bundle of Jungle Avenue that I had been hording petting and trying not to drool on ;)


Normally I am not much of a "pink"girl,but I really love this text print!  Not to mention that some of the bundle made a Sew Together bag for someone for a Christmas gift.


The main reason this bag is my favorite is because of the size.  It just holds the essentials,which is what I usually pack around.


A peek inside,love this street map print too!


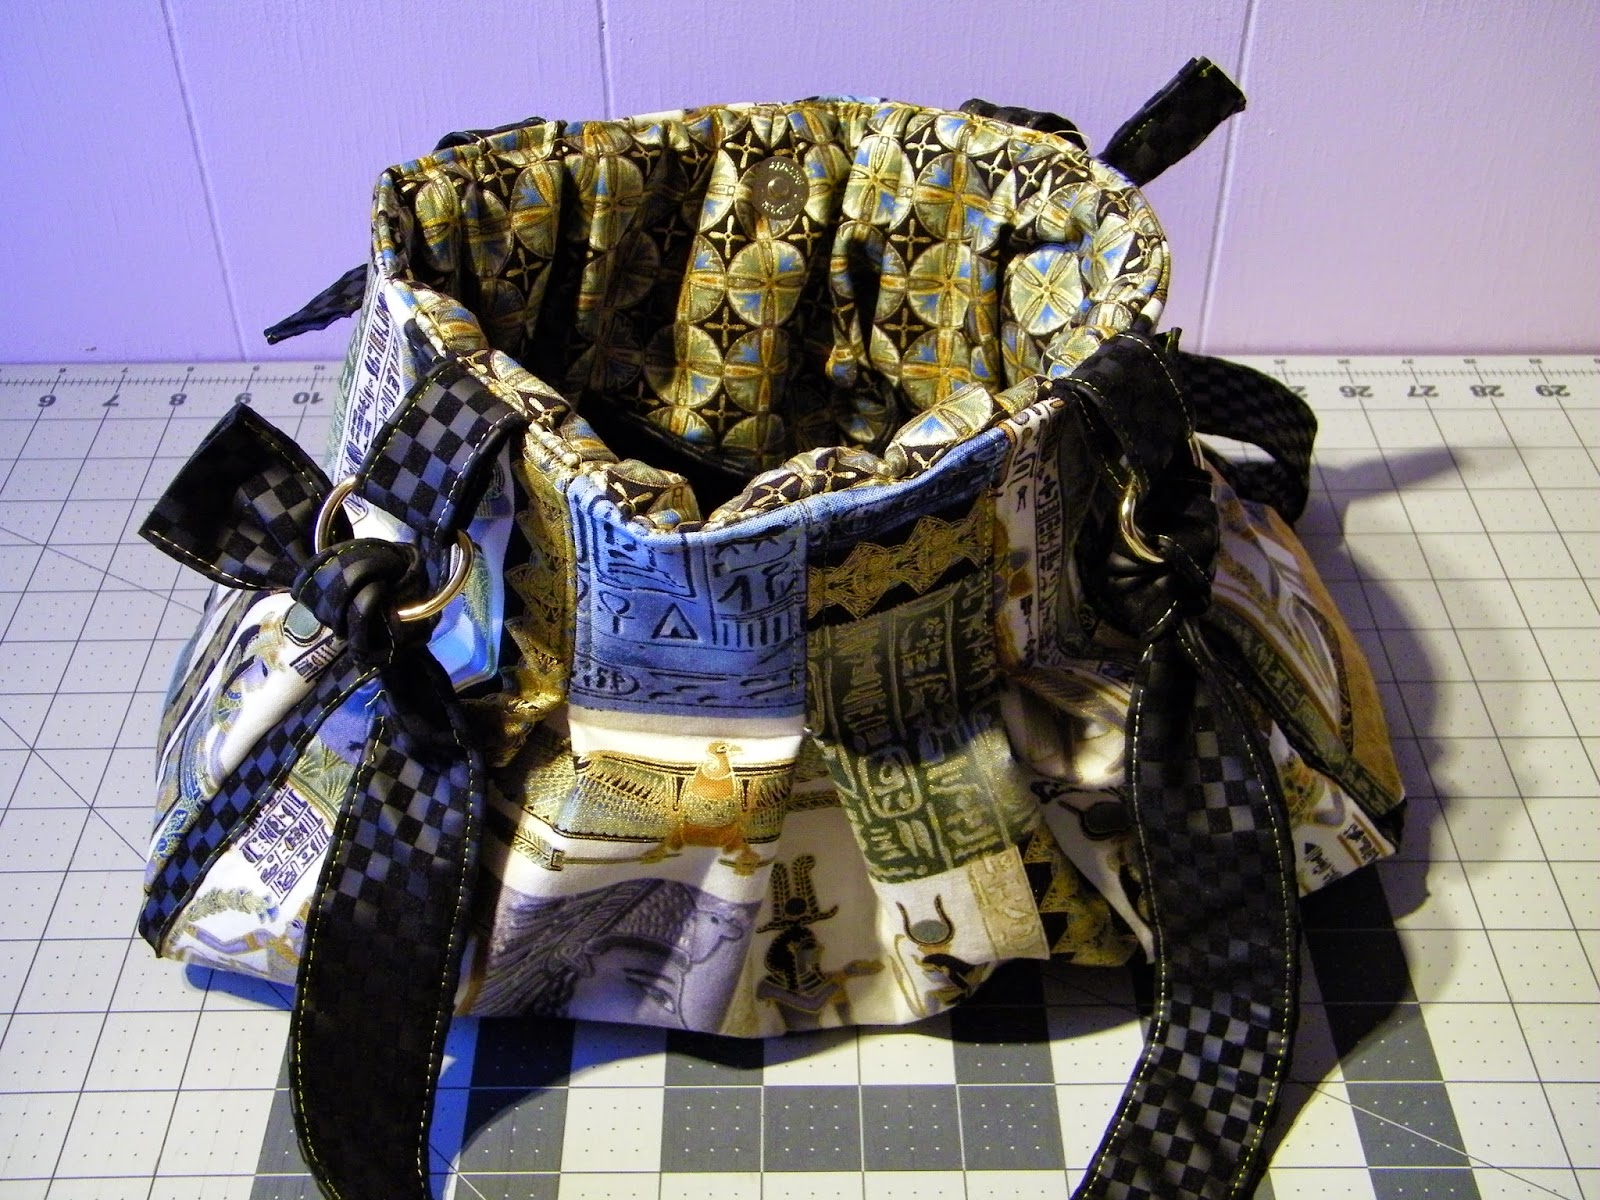
How about one with an exotic flair?  This one was made with a piece I cut wrong for the Sound Check bag.


I need to stock up on zippers before the month ends and the discount runs out!  I was hoping to use a gold or black zip,but since all three of my black zips went into the Sew Together bag...


The goldish print inside does not really match,but since it is inside it is okay.  This has been such a fun year with lots of bags!  My skills have grown exponentially since the beginning of the year.  Hardware has been tried and some of it mastered.  Some still needing more practice runs.

I hope you will join me next year as my bag making (and sewing in general) continues!  I heard recently Sara has sent a new book to her editor...and I have already signed up for the next edition of The Bag of the Month Club!

Sunday, December 21, 2014

* Happy Holidays *

Just wanted to wish everyone a very Merry Christmas and Happy New Year!  My computer is going in to be serviced over the Holidays.


So other than one pre-scheduled post I will be MIA until my computer returns sometime in early January 2015.  See you in the New Year.

Until then Happy Sewing!

Sunday, December 14, 2014

Flower Power

Are you ready for Christmas?  No?  Me either,but I am close!  A friend of mine has three sweet little girls...


These cute little flower purses and wristlets were made using this pattern purchased recently from an Indie seller on Craftsy.  They are a bit fiddly and time consuming but,they turn out so cute!  If you have a little girl or know one that loves all things girly,this is the perfect purse pattern.  The far left one was  my tester.


The lining was my planed exterior fabric...which is why I generally sew up a tester when making something for someone else,and using a new pattern for the first time.  It still turned out cute though.  I know one more little girl who might like this one.


I have all but finished the baby quilt top for ElaniaGrace,with my own twist on the pattern of course.  As well as some pink thrown in,because every little girl needs at least a little pink!


The pattern calles for hexie shapes in the second strip,I decided to use my smallest circle ruler to tie in with the bubbles in the fussy-cut square row.  The rest of the circles/bubbles need to be made and the top will be finished.  I also omitted the two ruffles near top and bottom of the quilt and am contemplating adding large ric rack there.  This will now take a back seat so I can finish up my last couple gifts.

Happy sewing!

Sunday, December 7, 2014

December Goals...

This month is always a roller coaster ride,as far as goals go!  Mostly because of all those last minute gifts that have to be finished up.


This summer Gil asked me to make something for a buddy and his girl,who were expecting...last week he finally got back to me!  The baby was born just before ThanksGiving,could I please make a crib sized quilt?  Of course I can,Ha,it just might not get finished until after Christmas.  This is the pattern I am using,the girl version(bottom quilt)


Although this quilt will be for a baby girl,mom likes yellow and chose a print from my stash that is aqua with tiny little duckies all over it.  These are the start of the pinwheel row for the quilt. (my ALYOF Goal this month)


This weekend I made a lot of progress on my Fall Frolic quilt top!  Sadly,it now has to be put aside so Christmas presents get finished.


Did you take advantage of any sales this past week?  This loot and 2 bolts of SF101(Shape Flex interfacing,not pictured,from Joann's) were my big splurge for the year!  Jelly Roll ruler,Tri-Recs rulers,Elizabeth Hartman's,Kona Roll up,Oakshot cottons bundle,darks(from Craftsy).  Thread box,also from Joann's.

Linking up:

A Lovely Year of Finishes


Wednesday, December 3, 2014

a random Wednesday

I can finally show you a bag that was made late this summer...


It all started here,with this paper pieced pattern...


and ended up here.  This tote bag was a birthday gift for Jolene.  I was informed recently that it is Awesome!


These are my cute little snowmen that I pattern tested for Sweetbriar Sisters.  When looking at the pattern after printing it out my first thought was that it would be a bit difficult.  It was easy peasy!  This is the first pattern I have tested for them,but it won't be the last!


Last night I pulled out this basket that holds my spool collection.  They are going to become ornaments in the near future.


I saved the best for last!  Today these lovely goodies were waiting for me in the mailbox.  In a recent email to my friend Jamie(over at busy bee quilts) I mentioned that I still had not found any more Bias Plaid in Orange for my Fall Frolic quilt.  Being the wonderful friend she is,she sent me the 30 inches from her own stash,and Sweetened the package with notions!  Thank You Jamie :)!

Soon I will have a quilt top to show you...

Sunday, November 30, 2014

Big City Bags ~ Sound Check Bag ~ Take 2

Did you all have a nice ThanksGiving,with lots of turkey and Family?  Hope that wherever you were it was a wonderful time spent with Family and friends!

My last post (just below this one) was all about my mis-adventures sewing up my first Sound Check Bag.  One of the two Bags we could sew up this month for the Big City Bags SAL.


The second bag is of course the Sound Check Bag.  The fabric for the exterior of this one was a gift from my friend Jamie,of busy bee quilts.  She has a great eye for fabric,Thanks Jamie :)!


After all the problems with the last Sound Check Bag I was a little hesitant to cut into this beautiful fabric!  But as they say,nothing ventured nothing gained...


The interior is a pale pink with an almost cream color polkadot.  It is actually pretty cool,as the dots pick up colors,when I had it next to the yellow they almost looked a faint yellow shade.


Happily this time around there were almost no mistakes made.  When it came time to add the side panels they were 2 1/2" short!  After emailing Sara (just an FYI here,she is super about getting back to you,asap)!  She replied to my email within a half an hour.  I realized that I had forgot to round the corners on the side panels.  That was my only issue this time round! (yay)


When pulling fabrics for this bag I wanted to use an accent fabric that coordinated with the flesh/peach color.  This is one of those times when thankfully I did not have anything in that shade,so the yellow it was.  The yellow gives this bag a pop that the other color just would not have.


We went to Riverside Park to take the photos today,because they have set up all the Christmas trees for the season.  I love to go and see them,they are all decorated by individuals/shops that are local.  Some are in memory of loved ones that have passed on.  Some are just themed for the shop that has that tree.  These cute little snowmen are a pattern I tested recently...more on that in a later post.  See this post from a couple years ago,for a look at Holiday Park all lit up at night.


Sunday, November 23, 2014

Do Over

This weekend I set aside time to sew up the Sound Check Bag,the last bag in the Big-City Bags book.


What I didn't plan on was all the cutting mistakes...For some reason I just could not seem to get my brain in the right gear.  My fabric is directional,if it was an all over print there would not have been any problems.  The above photo was my first cutting mistake,it was supposed to be 14 1/2" x 18" (hight by width).  I cut just the opposite.


My second attempt,this time I cut the width 2" too short,Seriously?!  Yep.  Since this fabric was from a quilt shop (i.e. not cheap)there was no way it was going in the trash.  So I decided to just try and make it work.


This decision lead to a lot of math(which bty I stink at).  The accent strips,the black on the edges of the bag front and back had to be cut down to 1".  Even with cutting them to half the size I ended up sewing half of the strips into the side seams.


Of course the side pieces had to also be cut down to fit properly.


You can see how the D ring tabs are right at the edges,they should be a couple inches in from it.


The fabric used for the handles/straps,is a faux leather type,so when tying the knots in them they stretched.  This made my top stitching on them(straps) rip out a bit.  The pattern actually called for rectangular hardware,which I did not have.  That would not have mattered though.


The bag should have five nice flat pleats across the front/back of the bag,mine has only three.  So the result is a slouchy bag. Instead of a nicely flat pleated exterior/interior.  Can you believe with all the problems mistakes and math issues involved with this bag,I still love it?  The fact that I was able to take all the mistakes and turn them into a decent looking bag is just a testament to how much my bag making skills have improved this year!  And,that makes me very Happy :)

Not sure how to go about making the exterior bag pieces in the first photo into a bag,but when I figure it out I will post about it.

Happy Sewing!

Friday, November 21, 2014

Circus,Circus

  You might be thinking that maybe the Circus has come to town,from this post title.  Well...it sorta has!


Recently I showed this photo of the pieces mostly cut for one of this months bag options for the Big-City bags SAL.


Just like with my HoneyMooners Suitcase I took some photos of the bag making process.  Both the exterior and interior pieces finished.


The zipper panels and side pieces all prepped/ready to be sewn to the the bag front/back pieces.


My pockets are almost never made the stated size in the pattern,because I like to customize them to my needs.


Although not called for in the pattern,a tab with a D-ring for clipping my keys onto.


Almost finished,just lacking having the lining sewn to the exterior.


A peek inside the finished Piccadilly bag.  Love the polka dots and that you can see just what you are looking for in the bag,due to the light colored interior.


Piccadilly Circus bag #2 all finished!  My plan was to gift this to either my niece or niece in-law...


and gift this one(Piccadilly Circus bag # 1) to the other...but I am really liking # 2 myself!  Oh Deer,better package it up quick and ship it off,before that happens ;).


This is a very roomy bag,in fact it is a bit larger than what I normally like to carry.  Other than that I really like this bag,especially since it snugs up under your arm!  Most bags with longer straps always end up sliding off my (sloped)shoulders,not so with this one.  So that is a big plus,for me anyway.

Of all the bags in the book,this is my second favorite,with the Chandelier Swing bag being my favorite.  You can see those here & here.  Now to see if I can get two of the Sound Check bag patterns sewn up before the end of the month...

Linking up here this week:

Fabric Frenzy