Showing posts with label Big City Bags Sew along. Show all posts

Thursday, December 25, 2014

Big-City Bags...the Final edition

This month for the BigCity Bags SAL (button on my side bar) we could sew up any of the bags in the book.  Since my favorite bag in the book is the Chandelier Swing bag,that is the one I chose to make.


All year long we have been sewing the bags from the book and not once have I used any of Sara Lawson's fabric.  Until now anyway!  For this one I broke into my FQ bundle of Jungle Avenue that I had been hording petting and trying not to drool on ;)


Normally I am not much of a "pink"girl,but I really love this text print!  Not to mention that some of the bundle made a Sew Together bag for someone for a Christmas gift.


The main reason this bag is my favorite is because of the size.  It just holds the essentials,which is what I usually pack around.


A peek inside,love this street map print too!


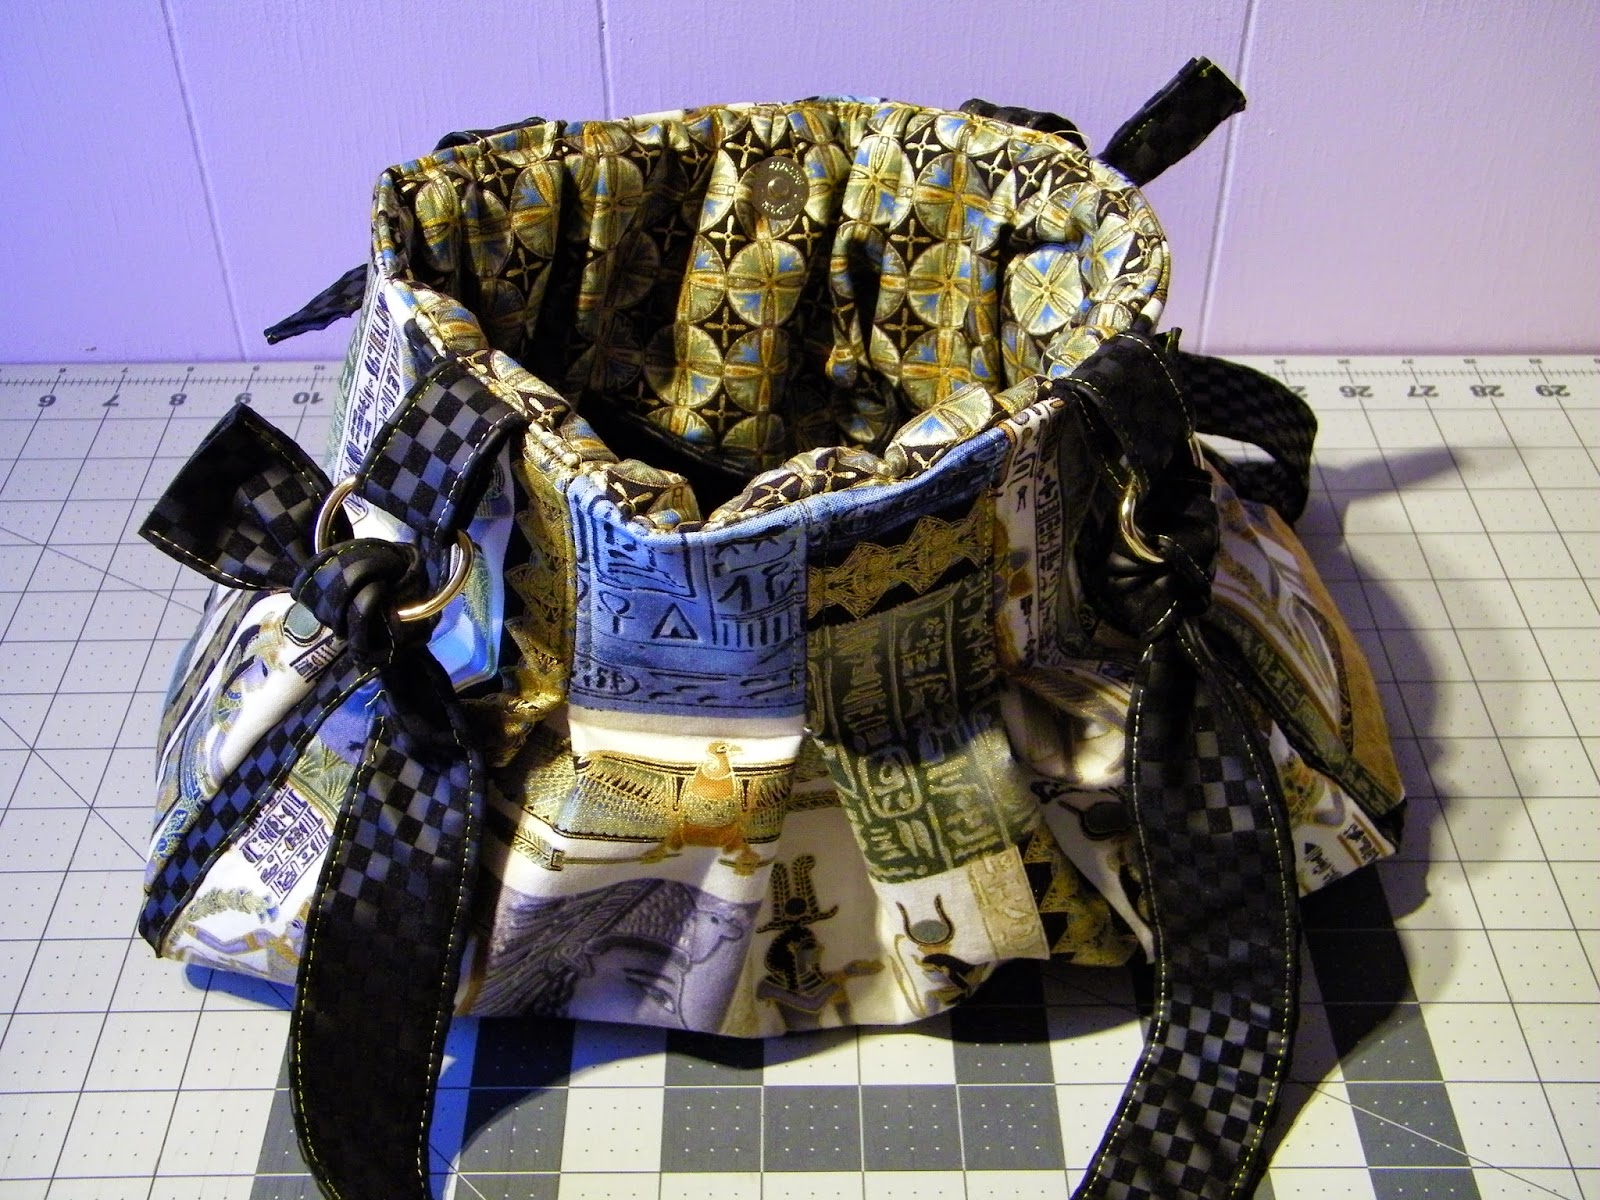
How about one with an exotic flair?  This one was made with a piece I cut wrong for the Sound Check bag.


I need to stock up on zippers before the month ends and the discount runs out!  I was hoping to use a gold or black zip,but since all three of my black zips went into the Sew Together bag...


The goldish print inside does not really match,but since it is inside it is okay.  This has been such a fun year with lots of bags!  My skills have grown exponentially since the beginning of the year.  Hardware has been tried and some of it mastered.  Some still needing more practice runs.

I hope you will join me next year as my bag making (and sewing in general) continues!  I heard recently Sara has sent a new book to her editor...and I have already signed up for the next edition of The Bag of the Month Club!

Sunday, November 30, 2014

Big City Bags ~ Sound Check Bag ~ Take 2

Did you all have a nice ThanksGiving,with lots of turkey and Family?  Hope that wherever you were it was a wonderful time spent with Family and friends!

My last post (just below this one) was all about my mis-adventures sewing up my first Sound Check Bag.  One of the two Bags we could sew up this month for the Big City Bags SAL.


The second bag is of course the Sound Check Bag.  The fabric for the exterior of this one was a gift from my friend Jamie,of busy bee quilts.  She has a great eye for fabric,Thanks Jamie :)!


After all the problems with the last Sound Check Bag I was a little hesitant to cut into this beautiful fabric!  But as they say,nothing ventured nothing gained...


The interior is a pale pink with an almost cream color polkadot.  It is actually pretty cool,as the dots pick up colors,when I had it next to the yellow they almost looked a faint yellow shade.


Happily this time around there were almost no mistakes made.  When it came time to add the side panels they were 2 1/2" short!  After emailing Sara (just an FYI here,she is super about getting back to you,asap)!  She replied to my email within a half an hour.  I realized that I had forgot to round the corners on the side panels.  That was my only issue this time round! (yay)


When pulling fabrics for this bag I wanted to use an accent fabric that coordinated with the flesh/peach color.  This is one of those times when thankfully I did not have anything in that shade,so the yellow it was.  The yellow gives this bag a pop that the other color just would not have.


We went to Riverside Park to take the photos today,because they have set up all the Christmas trees for the season.  I love to go and see them,they are all decorated by individuals/shops that are local.  Some are in memory of loved ones that have passed on.  Some are just themed for the shop that has that tree.  These cute little snowmen are a pattern I tested recently...more on that in a later post.  See this post from a couple years ago,for a look at Holiday Park all lit up at night.


Sunday, November 23, 2014

Do Over

This weekend I set aside time to sew up the Sound Check Bag,the last bag in the Big-City Bags book.


What I didn't plan on was all the cutting mistakes...For some reason I just could not seem to get my brain in the right gear.  My fabric is directional,if it was an all over print there would not have been any problems.  The above photo was my first cutting mistake,it was supposed to be 14 1/2" x 18" (hight by width).  I cut just the opposite.


My second attempt,this time I cut the width 2" too short,Seriously?!  Yep.  Since this fabric was from a quilt shop (i.e. not cheap)there was no way it was going in the trash.  So I decided to just try and make it work.


This decision lead to a lot of math(which bty I stink at).  The accent strips,the black on the edges of the bag front and back had to be cut down to 1".  Even with cutting them to half the size I ended up sewing half of the strips into the side seams.


Of course the side pieces had to also be cut down to fit properly.


You can see how the D ring tabs are right at the edges,they should be a couple inches in from it.


The fabric used for the handles/straps,is a faux leather type,so when tying the knots in them they stretched.  This made my top stitching on them(straps) rip out a bit.  The pattern actually called for rectangular hardware,which I did not have.  That would not have mattered though.


The bag should have five nice flat pleats across the front/back of the bag,mine has only three.  So the result is a slouchy bag. Instead of a nicely flat pleated exterior/interior.  Can you believe with all the problems mistakes and math issues involved with this bag,I still love it?  The fact that I was able to take all the mistakes and turn them into a decent looking bag is just a testament to how much my bag making skills have improved this year!  And,that makes me very Happy :)

Not sure how to go about making the exterior bag pieces in the first photo into a bag,but when I figure it out I will post about it.

Happy Sewing!

Sunday, November 16, 2014

Diamonds are a girls best friend...

So they say anyway.


In this case Dizzying Diamonds are this girls new best friend!    See that dusting of snow on the deck?  Although we have only had a couple inches so far it feels like a couple feet with how cold is has been!


So far today there is no wind(crossing fingers and knocking on wood as I say that)!  So this quilt has been on our bed now for the last half of the week,and I am happy to say that it has been toasty warm all night every night since!  No more waking up cold at 2am for me!  Yay for a middle of the month finish for this months goal.(ALYOF,button on side bar)


This is actually a bento lunch bag,but they make the cutest little santa sacks!  So I have been sewing some up to use as such.  You can see the one I made for Cori from the blog, Creativity Amongst Chaos for her T'Was the Night gift.  You can find the full hop schedule Here on Marlene's blog.


This year has been pretty much a stash fabric year (meaning not much new fabric purchased) so I was super excited to be the lucky winner last month for the Big City Bags SAL!  Here is the fabric that was purchased with my winnings,from Fat Quarter Shop.  Mostly Art Gallery Solids,which just happened to be on Sale! (double Win)  There are also a few linens and one print. Since my zipper stash was down to the very last few I stocked up (the 15% discount code is only good until the end of next month when the SAL ends)


Speaking of the SAL these are my fabrics/accessories for this months bag,the Picadilly bag.  I have already sewn one of these bags up(sorry no photos or post yet).  This month we can sew this bag or the last bag in the book,the Sound Check bag.  Hoping to sew at least one of each...


A little bit of Christmas Present sewing...


A better view.  These are a project in progress,can you guess what they will end up as?

Happy Sewing...


Thursday, October 30, 2014

HoneyMooners Suitcase

Firstly,I must apologize for the lack of posting lately.  Life has a way of sneaking up on a person when she least expects it to!  I have been doing some sewing,but most of it is Top Secret at the moment.


The one thing that is not secret is was my goal for this month,the HoneyMooners Suitcase.  This has probably been one of the hardest bags I have ever sewn.  Of course part of that is probably because of the fact that instead of going out and purchasing supplies,I used what was in my stash.


The pattern called for Thermolam Plus which I have never used,and do not have in my stash.  So since there was enough Soft and Stable  left  to make this suitcase,that is what I used instead.


The backside of the exterior,quilted to the soft and stable.


The first sewing step is to make the handle for the suitcase.  Fairly easy,that is until you get to the end and have to try and sew the actual handle to the top panel.  Which is the flat bottom piece pictured above.  You have to twist things around and sew at a very difficult angle to attach the handle to the rectangle rings.

My suggestion,or what I will do if ever sewing this suitcase again,is to skip step 3 in the "make the handle" section,go from step 2 to step 4 and at the end(after step 8) go back to step 3.  This will make sewing the handle a breeze,instead of a pain.


Making the piping,was the crazy thing!  You take double wide bias tape,press it,so that you are only leaving the center crease,or it is only pressed in half.    Cut the bias tape down to 5/8",don't ask me how much fun that was Not to do!  Then you place the cording in the center crease and sew it in to make the piping.

Note to self,make your own bias binding next time.


After attaching the piping to the exterior front and back pieces you then sew the lining pieces to the exterior pieces,easy peasy.


One of the reasons I did not finish this sooner,no 48" zipper...at the eleventh hour the light bulb came on!  Why not use two 24" zippers?  Great idea,except...if you decide to do this,do not make the mistake I did.  See how the two zipper tabs are one solid piece?  Do Not Do This!!  Unless of course you do not want to be able to open the suitcase for any reason!  (so i had to cut these apart and use fabric glue on the raw edges)!

What I should have done,make two separate tabs,one for each side of the zipper pull ends of the zippers.


The suitcase with one side sewed on to the side panel.(the part where the zips are attached)  This was a difficult part for me.  Mostly because there were no photos to help me figure out the correct placement,so that the corners lined up and the easing was spread out evenly.  I did okay,but need more practice.

Attaching the second exterior panel was So Not Fun!  I had such a hard time with it.  Here is where I am thinking that at least some of the problem could be because of using the Soft and Stable in place of the Thermolam Plus.  Any thoughts on that anyone?  The pattern called for two layers of it on the exterior panels.  So maybe it would not be quite as thick as the Soft and Stable?


And here is my HoneyMooners Suitcase!!!  Sorry,no close ups,because my piping has lots of issues!  For the same reason I am not showing any photos of the inside.


After you sew the exterior pieces to the side panels,this leaves the inside edges all raw/exposed.  Then you are supposed to sew the rest of the bias tape over these to enclose the raw edges..lets just say,they are quite Ugly,and that is putting it nicely!  Obviously I need a Lot more practice or need to find another way to finish the inside of the bag.

From the tone of this post you might think that I really do not like this bag/suitcase.  Not so!  It is actually a really Sweet little weekender bag!  Only I Need more practice and probably the right supplies would make a difference too!

Linking up with:

Big City SAL October link up

A Lovely Year of Finishes


Thursday, August 21, 2014

Swing & swap

This month for the Big City Bags SAL we can make either the Lucky Denver Mint bag,the Chandelier swing bag,or both!  So far...


I have finished one swing bag!  For this one I used a couple FQ's of Flea Market Fancy and a coral blender for the exterior top of the bag and the strap as well.


A peak inside...


The back side has a zippered pocket,since I only had a 7 inch zipper I just altered the pocket size accordingly.
This is the second swing bag I have made and although it is a smaller bag I love it.  The one main issue for me making this bag has been sewing in the bottom of the bag exterior and lining.  That being said it has not been a huge issue.  My feeling is that with more practice I will eventually get the kinks worked out,and then this bag will be a breeze to sew up!

Swap:


This is the 241 bag for my secret swap partner.  Last month I joined a couple swaps over on flickr,this one is for the Secret tote swap round 5.


My partner requested a bag made in fall colors or earth tones,she has been pretty quiet,so I am crossing my fingers that she likes the bag created for her.  It is hard to see in this photo but,I added a little bit of beading at the center of the bag and along the top edge of the exterior pockets.

Along the bottom of the bag I included four grommets with a bit of blueish fabric peeking out to accent the blue dots on the main fabric.


She also requested a longer handle/strap then the pattern calls for.  While rummaging around for some hardware to include on the bag I found this belt with rivets all down the center,so the hardware search was abandoned.  I think it ties in nicely with the grommets across the bottom of the bag.  Personally I am pretty excited with how this one turned out!

If you have this pattern and have not sewed up a bag with it yet,you should!  Even though I didn't get the placement for my exterior zip correct,that is okay because it lets the bird print take center stage.


Monday, July 28, 2014

Lucky Denver Mint & Chandelier Swing Bags

This month for the Big-City Bags SAL we are eligible for Double(prize) Entries if we made both the July bag and the August bag,due to a little mix-up!  So I got busy last week and...


First July's bag,The Lucky Denver Mint bag.  This bag is kind of a mini version of the Bye Bye Love Bag,in that is has a similar shaped top.  This bag is nice,but just simply not my style.  I used a scrap to make the bag and so was not able to get the design centered on the bag.


A peek inside shows off the Ice Frappe Kona solid,which goes perfectly with the accent color that outlines the design on the exterior of the bag.  My pockets are a little smaller than the pattern calls for,because again I used up a couple scraps!


For The Chandelier Swing Bag I used a scrap of Little Kukla for the main part of the bag exterior and a DS Flea Market Fancy print for the top and strap.


The backside has a zippered pocket,which I debated on omitting,but in the end I went ahead and included it.  Since the inside has no pocket,and a bag should have at least one!


This bag has a recessed zipper,this was my first time ever inserting this type of zipper closure in a bag.  I am happy to say that it went smoothly.


For the inside I used a super orange pop of a print!  It was the only orange I had enough of and even though it is a much more vivid color than the other oranges in the Little Kukla print,I like it.

You can probably tell by the amount of photos,that this is my favorite bag of the two.