
A little note and apology first,the note,this post has a lot of pictures,and I am sorry for the poor quality of some of them. I had stop mid way through and go make dinner. When I got back to the tutorial the sun had gone down and the lighting sucked :( Sorry!
Boxy Bag Tutorial:
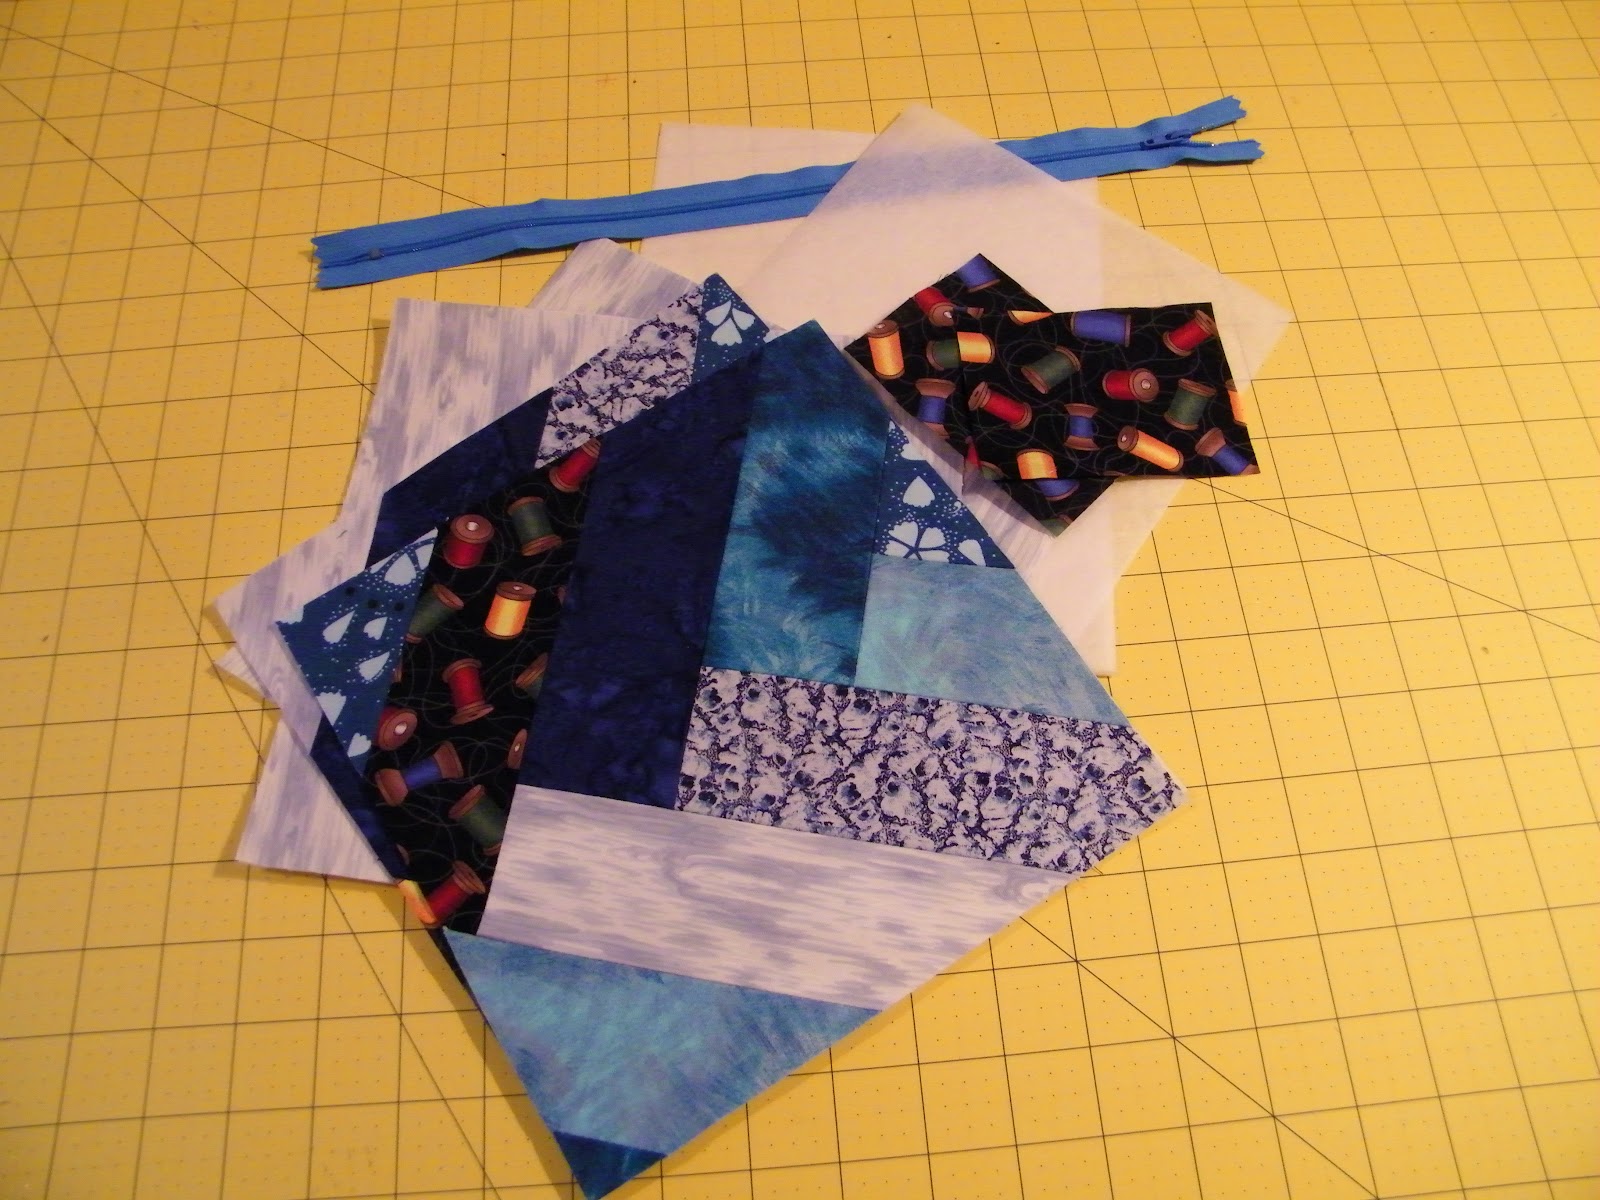
Items needed for this bag:
- one zipper (mine is 14" but a 12" will work fine)
- four pieces of fusible interfacing (8 1/2" x 8 1/2")
- two lining pieces ( 8 1/2" x 8 1/2")
- two Braided Block pieces also (8 1/2" x 8 1/2") or any 2 (8 1/2" square pieces)
- two 3" x 4" pieces of coordinating fabric (for tabs)
- thread,scissors,sewing machine,ruler,pencil,iron,rotary cutter

We are going to start by preparing our tabs. Take one of the 3" x 4" tab pieces and fold in half length wise (as pictured above) press.

Wrong sides together,as above,fold each side back into the crease you just made by pressing your fabric in half.

It should look like this (if you can see the gap?) Again,sorry for the poor photos! Press again.

Fold in half again,and press once more.

Now,take to your machine and edge stitch each side of the tab. (around an 1/8 inch from the edges) Repeat the above steps to make the second tab.

Here are both of my tabs,set them aside for later on.

Now take one of your outside braided block pieces and one of your fusible interfacing pieces,place the interfacing shinny/textured side up,place your braided block piece wrong side down on top of the interfacing. Take to your iron and press,following manufactures directions. Repeat with the other braided block piece and both lining pieces.

Take one of the lining pieces and lay it right side up on your work surface,place your zipper right side up on top of it. Making sure the top most edges are even all the way across. (line up the edge of the zipper with the top edge of the lining square) As in the photo above.

Now take one of the braided block pieces and place it on top of the zipper,wrong side down,as shown in the picture above. Making sure that all three edges are even/lined up across the top.

Now you are going to pin all three together. Here you can just place your first pin in from the edge by a 1/2",or you will need to take your pencil,and draw a line at 1/2". Likewise you will do the same on the other end. Either place your pin at the 1/2" mark,or draw a line. The reason being you are going to start sewing at the first pin/pencil mark,and stop sewing at the last pin/pencil mark.

Here we are at the sewing machine,now before we start sewing the three pieces together,you need to take off your regular foot and replace it with your zipper foot! Okay,now we are ready to sew. Note that I am starting right where my first pin mark is,at the zipper head end. In other words,the zipper head is just behind my pressor foot,while we will be sewing toward the tail of the zipper. If you are using a pin to mark your starting point (like I am) remove the pin before starting to sew.

Here is a photo of where I stopped at the 1/2"mark.

Fold your lining and braided block pieces wrong sides together and press as close to the zipper as possible,without touching the zipper.

Next take your second lining piece and lay it right side up,take the first half of the bag,that you just finished and lay it on top,lining the top of the zipper with the top edge of the lining piece. (mine is not lined up,so that you can see how it should go)


We are going to sew across where we have pinned from Edge to Edge on the braided block side. On the lining side we are going to sew from the Edge to the pencil mark ONLY! Make sure to leave the space in between the marks Un Sewn/Open!


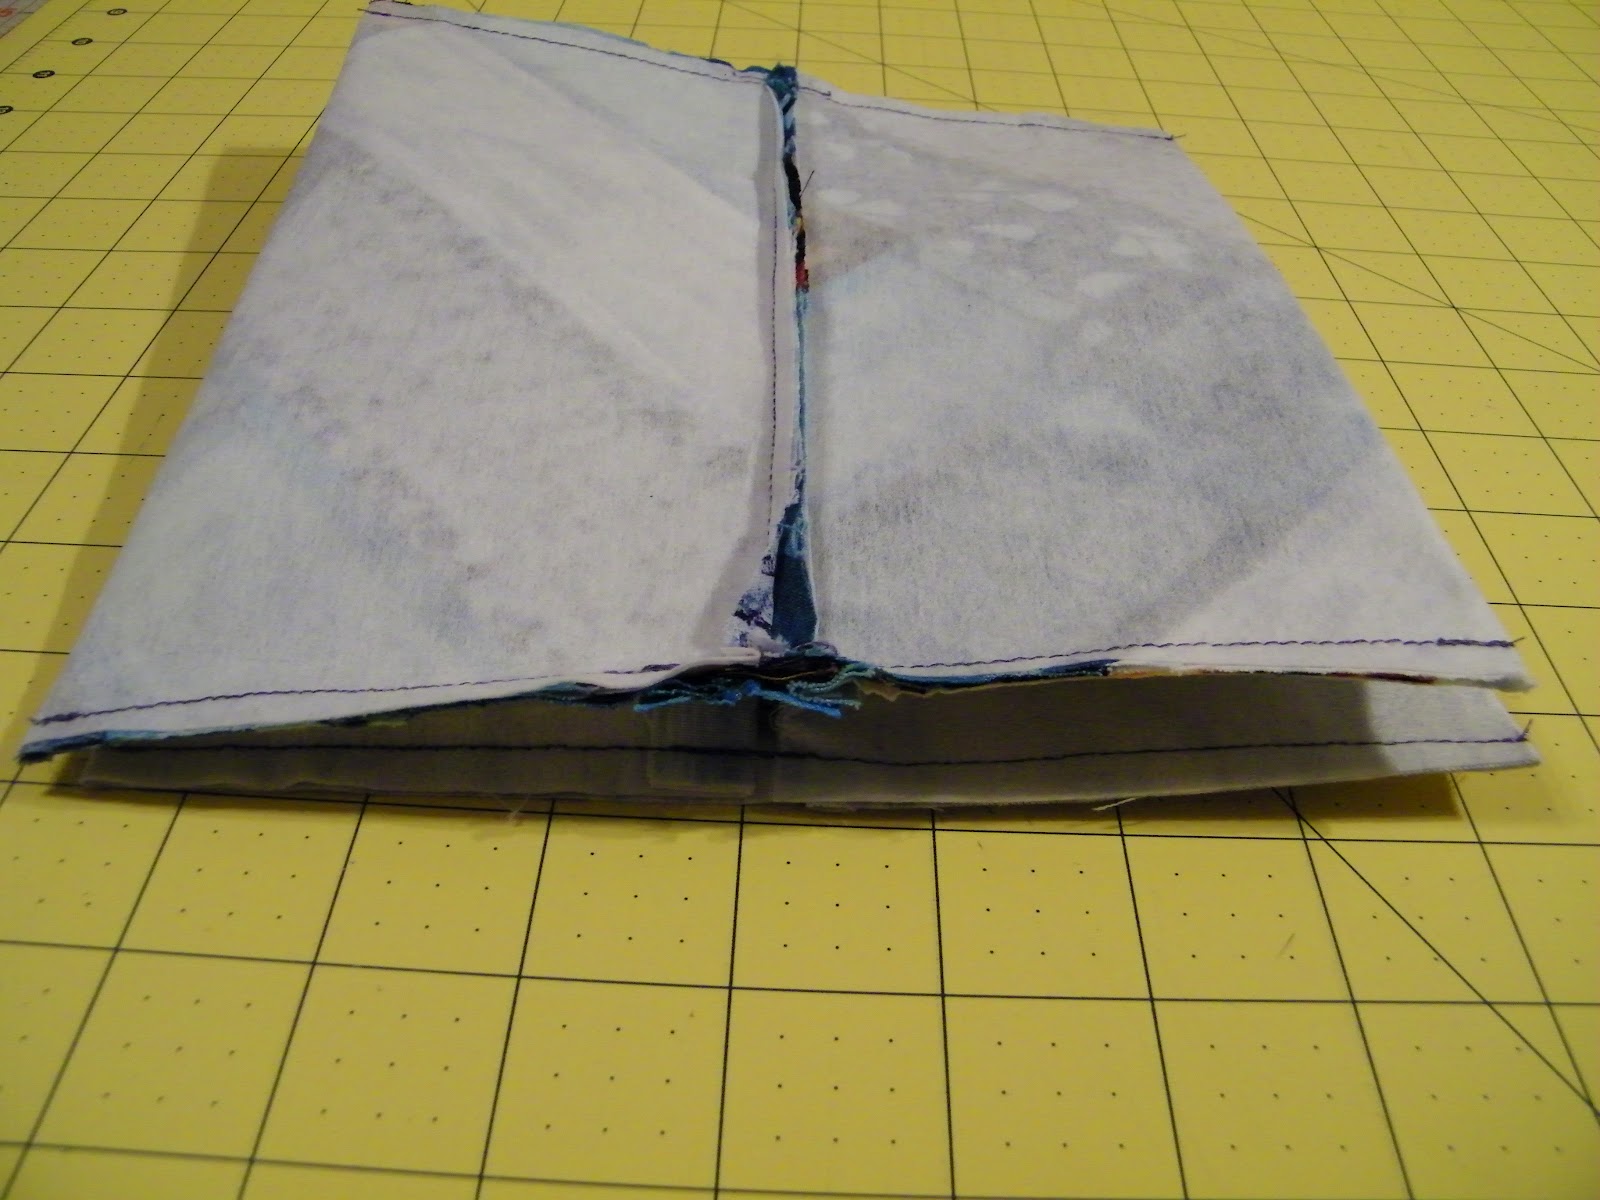
Lay your braided block side down on the table like in the above picture. I am holding the lining up, so you can see just the braided block laying down. You could press the folded edges,I just finger pressed them. Centering the zipper.


Notice that you do not see the zipper head in the above photo? That is because I have un zipped it about 3/4 of the way,so it is now hidden inside the bag. It is Very Important that you do this,or you will sew across the zipper and then will Not be able to un zip the zipper and then will have to get out the Grim Ripper :(


Cut off the excess zipper from both ends.

Now to make our bag boxy! Can you see that I have taken the scissors and sniped just to the stitches? This will make it a little easier to fold out the corners. Fold out the corner so that the crease from the fold and the seam are lined up exactly. (or as close as possible)

Here is another picture from the side. I have found that it helps to stick your hand,or fingers inside the opening and move the corner around to help line things up.

Once you have the corner folded out take it to your work surface and mark a line across it at 1 1/4".

This is how it should look.


Zip it up and there you have it! A finished Boxy Bag :)


The bottom of the bag :)
After typing up this post I have decided that a lot of my problem lies in the yellow cutting mat I took the photos on. So in future I will be taking the pictures on the white table beneath it instead of the mat.
Hope that everyone experienced and in-experienced alike are able to understand the tutorial and make their own Boxy Bag :) If you have any questions just email me,and I will do my best to answer them!

I am intimidated by my sewing machine and zippers scare me...BUT you make sound so simple! I think your pictures really show what you are trying to explain!
ReplyDeleteThank you for linking up to {Im}Perfect Sunday!
Thank you so much for the tutorial!!! I love it and my bag!!!
ReplyDeleteWriting a tutorial takes some time, but thank you for taking the time. Such a cute bag! I'm adding it to my list for Christmas ideas.
ReplyDeletenordvpn crack
ReplyDeleteNordVPN 2021 Crack with License Key allows secure and confidential internet access. This tool hides your IP address and stores what you send or receive. No one can read this privacy. As a result, the service gives you the freedom to download without worry.
IDM Crack
ReplyDeleteIDM Free Download integrates well with most web browsers. So you can find downloads on multiple sites. It also only contains photos and videos. After selecting the file, the “Download” button will be placed on the application’s website. All you need to do is click on this button to start the download process.