Showing posts with label Alpine Triangle quilt. Show all posts
Sunday, April 27, 2014
Alpine Triangles Finished!
This is what my lovely looked like last night.
And today...it was super windy,but I was able to get all the photos except this one,and it isn't bad :) I just had to wait to take the shots in between gusts.
My original plan was to have a totally pieced back with all the scraps left over from the front. However time was slipping by and the end of the month is only a few days away. So a change of plans was in order. The center strip of fabric is a Madrona Road text print,the side strips are scraps of Nordika and Pure Elements Solids.
When I posted about how I QAYG in a previous post,there were several people who asked for more information. So here is the skinny. When I quilted my quilt it was with the top and batting only,and I only quilted the sides of the triangles,leaving the bottoms of the triangles un-quilted.
You might be able to see the quilting lines better in the photo above this one. After pin basing the back of the quilt to the top and batting I quilted straight lines across the bottom of the triangles,where each strip was attached to the one above.
Here is a better photo,it is hard to see the quilting on the text print. I hope that explains things for you all,if it does not,just let me know in the comments and I will try to explain better.
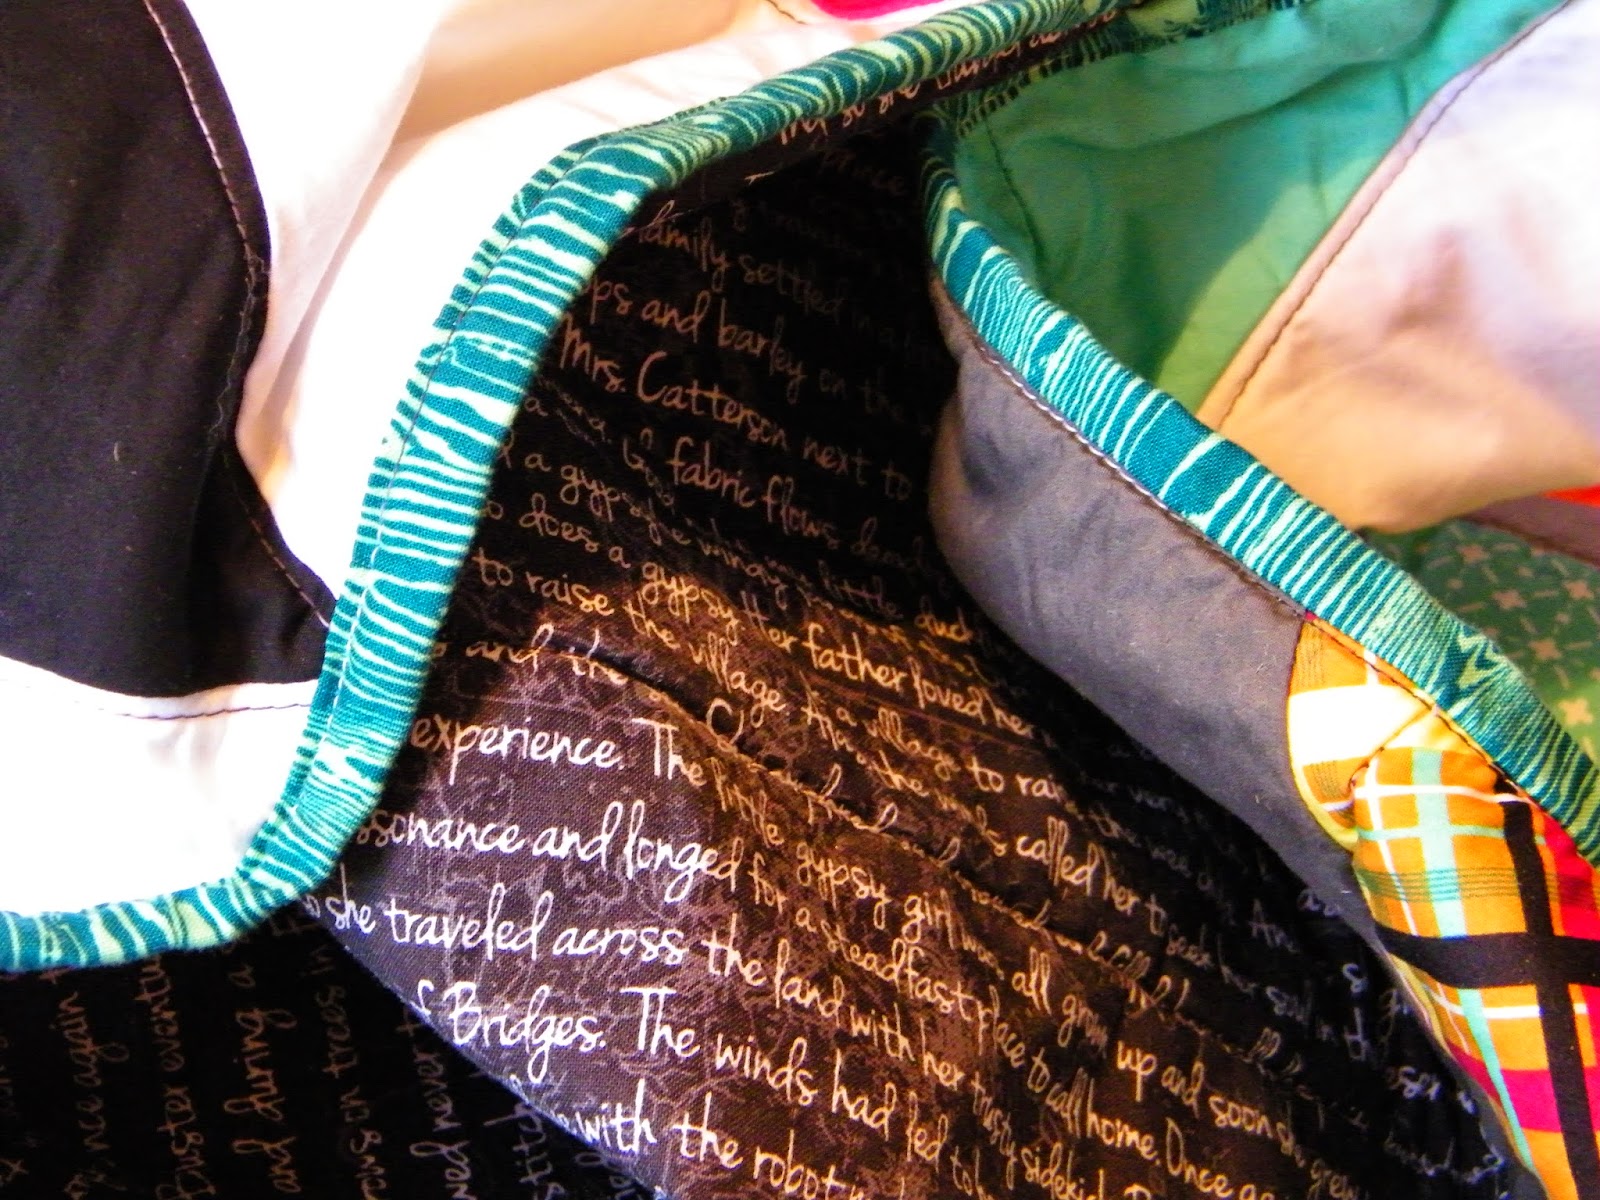
The binding is True Colors Woodgrain by Joel Dewberry,I think it is the perfect choice for this quilt.
I learned a lot during the making of this quilt,and still have a lot more to learn about sewing triangles! It was such a fun time spent in the sewing room! You can be sure there will be more triangle projects to come around here!
A Big Thank You to Paula over at The Sassy Quilter for all the tips on how to sew the quilt and for hosting the QAL!
Linking up to the Finish Party check it out for a whole lot more triangle sweetness :)
Saturday, April 26, 2014
Wonderland bag finish
Sorry it has been so quiet around here this past week or so. The reason for the lack of posts,well next weekend is the annual Climb to Conquer Cancer hike. Which meant that there was a baking Frenzy going on at my house in preparation for the Big bake sale fundraiser....
Thursday after work was my first opportunity to set foot in the sewing room! I got straight to work on this months Big City bags SAL bag. All my pieces were cut out and the interfacing fused before the sewing machine was turned off for the night.
Yesterday after work I set to sewing all the pieces together. This was my first ever time making bias binding/piping! Let me just say,that making bias binding is a little confusing not to mention time consuming.
At the end of the evening my wonderland bag was finished! My handles were purchased from Joann's and are shorter by a few inches than the suggested size of 28 inches. They also do not have pre-punched tabs,so I made my own from the same fabric used for the lining.
Over all I love this bag that being said,I do not like the pocket design at all. I divided my pockets into three sections instead of two(but I don't think that made much difference).
The reason I dislike the pocket placement is this,when you put items in them,cell phone,small wallet,glasses(what I put in my pockets on one side) the little amount of weight pulled the lining in to the center of the bag. Which in turn makes the exterior of the bag dis-formed.(it no longer holds its shape very well). I am not sure exactly how to fix this issue other than somehow attaching the lining to the exterior of the bag in more places than just at the top where the zipper is.
So if I can figure out a way to do this now that the bag is sewn up...(my idea is to do some hand stitching with thread that contrasts the exterior fabric,and coordinates with the interior )
Linking up my finish over at :
Sewing With Squeak
In other sewing news,this is what my Alpine Triangles quilt looks like at the moment. I am hoping to have it finished by tomorrow evening...
...This is about a third of my baking Frenzy!
14 loaves of Cheddar Green onion English Muffin bread
6 loaves Cinnamon Basil Sun dried Tomato Bread
20 loaves Cinnamon Monkey bread
21 loaves Lemon Monkey Bread
So far we have raised around 1,700 our goal this year is 2,000
Thursday after work was my first opportunity to set foot in the sewing room! I got straight to work on this months Big City bags SAL bag. All my pieces were cut out and the interfacing fused before the sewing machine was turned off for the night.
Yesterday after work I set to sewing all the pieces together. This was my first ever time making bias binding/piping! Let me just say,that making bias binding is a little confusing not to mention time consuming.
At the end of the evening my wonderland bag was finished! My handles were purchased from Joann's and are shorter by a few inches than the suggested size of 28 inches. They also do not have pre-punched tabs,so I made my own from the same fabric used for the lining.
Over all I love this bag that being said,I do not like the pocket design at all. I divided my pockets into three sections instead of two(but I don't think that made much difference).
The reason I dislike the pocket placement is this,when you put items in them,cell phone,small wallet,glasses(what I put in my pockets on one side) the little amount of weight pulled the lining in to the center of the bag. Which in turn makes the exterior of the bag dis-formed.(it no longer holds its shape very well). I am not sure exactly how to fix this issue other than somehow attaching the lining to the exterior of the bag in more places than just at the top where the zipper is.
So if I can figure out a way to do this now that the bag is sewn up...(my idea is to do some hand stitching with thread that contrasts the exterior fabric,and coordinates with the interior )
Linking up my finish over at :
Sewing With Squeak
In other sewing news,this is what my Alpine Triangles quilt looks like at the moment. I am hoping to have it finished by tomorrow evening...
...This is about a third of my baking Frenzy!
14 loaves of Cheddar Green onion English Muffin bread
6 loaves Cinnamon Basil Sun dried Tomato Bread
20 loaves Cinnamon Monkey bread
21 loaves Lemon Monkey Bread
So far we have raised around 1,700 our goal this year is 2,000
Wednesday, April 16, 2014
Alpine Triangles quilt & a sneak peek
I rushed home from work today to try and get a shot of my quilt top.
It was pretty windy,so I just snapped off a quick picture,because the link up over at The Sassy Quilter closes tomorrow! There are so many beautiful quilt tops already linked up,you should go take a look.
And your sneak peek! I have made lots of progress on my secret project :) Which I should be able to post about at the end of this month.
It was pretty windy,so I just snapped off a quick picture,because the link up over at The Sassy Quilter closes tomorrow! There are so many beautiful quilt tops already linked up,you should go take a look.
And your sneak peek! I have made lots of progress on my secret project :) Which I should be able to post about at the end of this month.
Thursday, April 10, 2014
Alpine Triangle Quilt (progress)
As you probably know I am participating in the
You can find this weeks link up here! I am a tad bit ahead as my rows are already sewn into three sections.
Since it was Finally warmer today I planned to take a photo outside after work...But somebody forgot to tell the wind of my plans...The first two sections are already quilted,and the third as you can see is taped and ready whenever I can get to it.(hopefully tomorrow after work) Of course I will need to make the backing as soon as the quilting is finished. The quilting is on the diagonal because it is quick and easy straight line quilting.
I have been carefully(since it is too windy to do this outside) spray basting each section with Spray-n-Bond. I found this at walmart last fall,and decided to try it because I have always been happy with Heat-n-Bond products. What I like about this is that it does not have a scent/odor. The cans are smaller,but work fine for smaller projects. So far it has lasted for all three sections and there is still plenty in the can. I have seen this at Joann's too.
You can find this weeks link up here! I am a tad bit ahead as my rows are already sewn into three sections.
Since it was Finally warmer today I planned to take a photo outside after work...But somebody forgot to tell the wind of my plans...The first two sections are already quilted,and the third as you can see is taped and ready whenever I can get to it.(hopefully tomorrow after work) Of course I will need to make the backing as soon as the quilting is finished. The quilting is on the diagonal because it is quick and easy straight line quilting.
I have been carefully(since it is too windy to do this outside) spray basting each section with Spray-n-Bond. I found this at walmart last fall,and decided to try it because I have always been happy with Heat-n-Bond products. What I like about this is that it does not have a scent/odor. The cans are smaller,but work fine for smaller projects. So far it has lasted for all three sections and there is still plenty in the can. I have seen this at Joann's too.
Subscribe to:
Posts (Atom)

