Saturday, April 9, 2011

pinwheel tutorial

Supply's needed for this project:
1 hammer
1 pair of scissors
1 sheet of 12x12 heavy duty scrap book paper
1 eyelet & eyelet tool
sm. dowel knob
plastic tubing 3/8 inch (about 29 cents a foot,at the hardware store)
wood doweling  1/4 inch
hot glue & glue gun
craft paint (for painting doweling,optional)
pinwheel template
drill (not pictured) for drilling a hole in your dowel stick


Template:
cut from heavy duty paper.

To begin, place your template on your sheet of scrap book
paper and trace all around.
Take your scissors and cut out your template.

Next, take your cut out template, hammer, eyelet tool and one
eyelet, to a surface where you can use the hammer without
damaging it.  I used a couple pieces of wood in the yard
as my surface.  Because it didn't matter if I put dents or
marks on these pieces.  If you have a work bench that would
work better.

Here I am using the eyelet tool to punch a hole close to the
tip of the pinwheel arm.  you will need to do this on all four arms
and also in the center.  Making sure to punch your holes in the
same area so that the holes all line up.

Here is a picture where all of the holes have been punched
in the pinwheel.  Also pictured are the eyelet tool, the plastic
piece you put underneath your pinwheel while punching the
holes, and your eyelet.

Here I have placed the eyelet  through the hole in the arm,
it doesn't matter which arm you start with, just continue
on around clock wise attaching all the arms to the same
eyelet.

Here are all of the arms attached and then the eyelet is pushed
through the center too.  Place your eyelet tool  underneath
the pinwheel.  Use the hammer to affix the eyelet to the pinwheel
so it holds all the pieces to the center.

This is a picture of the backside after the eyelet has been affixed.
To the right you can see the tool.
Take your plastic tubing and cut two pieces with a heavy
duty pair of scissors(like kitchen scissors).  your plastic
pieces should be about 1/4 -1/2 inch long.
Place one on the dowel knob, then insert the knob
through the eyelet.  Next place the other piece on the
dowel piece sticking out of the back of the pinwheel.
Set aside. 
Use your drill (very carefully) to drill a small opening
about 1/2-3/4 inches from the top of the dowel.  You can
drill all the way through, however it is better if you just drill
almost through, but not quite all the way though the dowel.
Next place a small amount of hot glue into the hole you
drilled.  Insert the dowel knob with the pinwheel on it into
the hole.  Hold for a minute or two, until glue is set enough to
keep dowel held straight.
Allow to set at least 15 minutes for glue to thoroughly set up.

And here is the finished pinwheel!  I took this
picture in my sewing room, because it was extremely
Windy here today, and would have blown this
paper pinwheel apart!

You can find the project sheet that I used to figure
out my pinwheels here
You can download the template from this link.
You can also use the instructions found here,
although I only used it as a guide, and altered
it to my liking.
linking to these party's Sew darn crafty & DIY project parade


Thursday, April 7, 2011

Flannel Embellished burp cloth Tutorial

Supply's needed to make one set of 3 burp cloths:
3 ~ Cloth diapers
1/3 yard flannel (print of your choice)
Thread ~ either matching or contrasting
Scissors/rotary cutter
Sewing Machine
The package of cloth diapers pictured above is Child of Mine
brand, by Carters, and it has 6 cloth diapers in it.  I prefer to
use Gerber brand, but our local store no longer carry's that
brand.  You can use any brand you like.
You can actually make 4 burp cloths with 1/3 yard of
flannel.

With your rotary cutter or scissors cut your flannel in half,
or two strips 6 inches wide each.
Next cut your strips 20 1/2 inches long.

This will give you room to fold under your fabric, as shown
above.  Take one of your strips of fabric and lay it down the
middle of your cloth diaper.  Where it is padded.  This middle
part of the diaper should measure about 4 3/4 inches wide.

Fold the end of your flannel over towards the back (see picture)
This fold will be about half an inch.  Next fold in both sides,
use the width of the padded part of the cloth diaper to gauge
the right width.  I try to keep my fabric lined up with the
stitching of the padded middle part of the cloth diaper.
Once you have your flannel folded and lined up pin it
to the cloth diaper.


Now you are ready to begin sewing the flannel to the cloth
diaper.  Make sure to back stitch when starting to sew, or if
your machine has a knot button you can use that.
Keep your needle as close to the edge of the fabric as you
can, without sewing off of the edge.
Sew all the way down the side of the fabric.
When you get to the other end, lift up your presser foot and
turn the fabric.  Making sure to keep the needle in the down
position (in the fabric)  Now sew across the end.  Repeat
the process at the next corner.
It didn't show up very well, but I was trying to show how the
fabric lines up with the stitching on the cloth diaper here.
Here is the picture right before lifting the presser foot and
turning the fabric.
Sew the other side and across the other end.  Remember to
back stitch at the end, like you did at the beginning.
Here are the three finished burp cloths.
This set is a "sampler" which is why the three burp cloths
are not all made from the same print.

Here is my set of burp cloths all tied up with a bow and ready
to sell!
Hope this tutorial is easy to understand.  If you have any
questions feel free to email me!


Linking up to Oh Sew Baby


Monday, April 4, 2011

Jelly roll Giveaway

Do you love free stuff?  Me too!  Love fabric?  Me too (I am a fabricaholic)!  Want a chance to win some fabric?  Of course you do!
Well jet over to Kool Beenz blog here for your chance to win a Hullabaloo Jelly roll!  The sweet part of the deal is that you get not one, not two, or even three chances to win.  Nope, You get 9!  That's right I said NINE chances to win this Awesome Jelly Roll!  So Hurry up and Roll over there!  Why are you still here?? GO!!!

Sunday, April 3, 2011

Cheese Herb Bread Recipe

Here is the 2 loaves of bread Jolene and I made today.
Herb Cheese Bread
6 to 7 cups all-purpose, or Bread flour (I use 1 1/2 cups whole
wheat Pastry flour & the rest all purpose)
3 tablespoons sugar
1 tablespoon salt
2 tablespoons shortening
2 tablespoons tarragon
1 cup grated cheese
2 packages regular or quick active dry yeast
2 1/4 cups very warm water (120-130 degrees)
margarine or butter melted

Mix 3 1/2 cups of the flour, sugar, salt, shortening, and yeast in
a large bowl.  Add warm water.  Beat with electric mixer on low speed
1 minute, scraping bowl frequently.  Increase speed to medium and
beat for another minute, scraping bowl as needed.  Add the
tarragon and cheese with the second edition of flour.
Stir in enough remaining flour, 1 cup at a time, to make
dough easy to handle.

Turn dough out onto a lightly floured surface.  Knead about
10 minutes or until smooth and elastic.  Place in a greased
bowl and turn greased side up.  Cover and let rise in a warm
place 40-60 minutes or until double.  Dough is ready if
indentation remains when touched.
Grease 2 loaf pans and set aside. ( this may sound
strange, but I use Wilton's Cake release) 

Punch down dough and divide in half.  Flatten each half with
hands or rolling pin into a rectangle, 18x 9 inches, on lightly
floured surface.  Roll dough up tightly, beginning at the 9-inch
side, to form a loaf.  Press with thumbs to seal after each turn.
Pinch edge of dough into roll to seal.  Press each end with side
of hand to seal.  Fold ends under loaf.  Place seam side down in pan.
Brush loaves lightly with margarine or butter.  Cover and let rise in
a warm place 35-50 minutes or until doubled in size.

Move oven rack to low position so that tops of pans will be in
center of oven.  Heat oven to 425 degrees. 
Bake 25 to 30 minutes or until loaves are deep golden brown
and sound hollow when tapped.
Remove to wire rack to cool.  Brush loaves with margarine
or butter again and cool.
Slice and spread with butter, Enjoy!


Pictures

This picture was taken just after sunrise, from the small mountain
overlooking our town.
The word is Gil's nickname, which he carved in the railing to
leave his mark, like all the others before him.
Mr. P and me, taken at our property, where we hope to build
a house and retire "someday".
Jolene snapped this one of me taking in the sunshine and
enjoying nature!
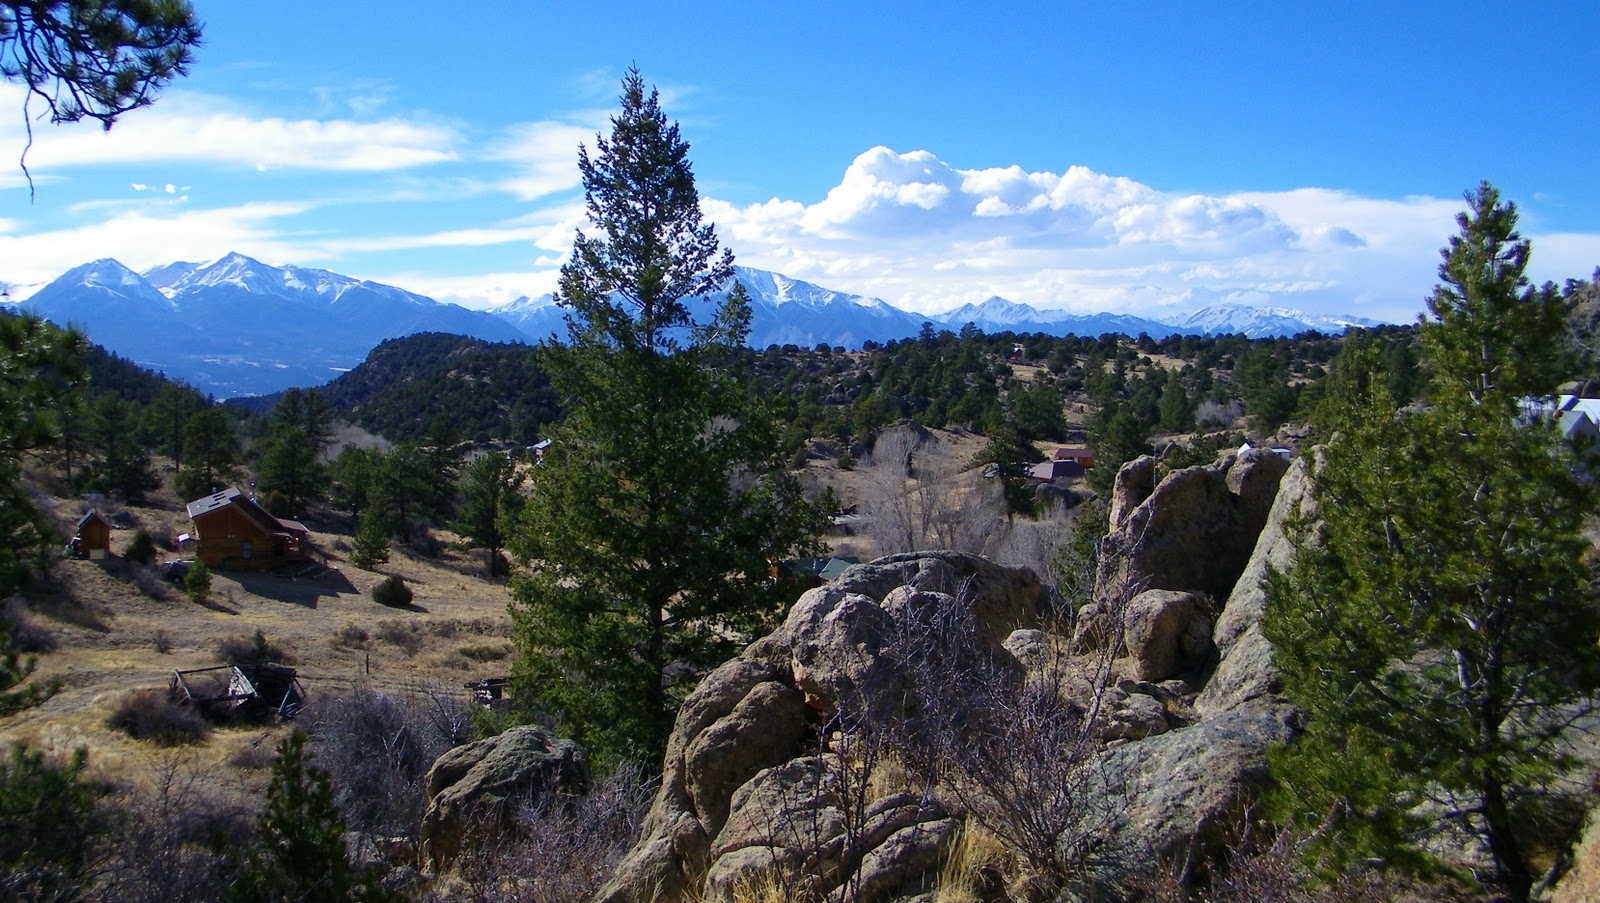
Looking west from the hill on our property.
Here is one of the smaller of the many boulders on our property.
You can just see my car through the branches of the trees.

Here you can see the car again, and part of the road and house
pad.

Kelly (Jolene's hubby) is standing by a small aspen tree at
the entrance to an old mine shaft.  This is just below where
I took the last picture from.