Saturday, September 14, 2013

What Happens in Vegas...

In my last post,I said that it was time for a little break.  That break started on Monday when I clocked out at lunch time.  From there it was a three hour trip to the airport.  An hour or so after my scheduled flight(due to severe thunder,lightening and hail) we finally boarded the plane...

                     
                                                                           source

This is where I finally ended up! (after more delays)  Since my arrival was so delayed,I missed the Meet and Greet for Riley Blake's Fabric Fest.  However,from then on things only got better and better!  Jamie from busy bee quilts was patiently waiting for me when I finally stepped out of the taxi!!!


After dropping my bags off at our room (all the way at the end of the hall) we headed over to the shop.
Just a Warning,Lots of Photos below...


This quilt has snowmen,so of course I had to snap a shot off of it!


Love how the bright chevrons just pop out from the grey background fabric of this quilt.


How about some pretty chevron flowers?


These boots are made for walking,this would make a great little boy quilt.


A new take on Little Red Riding Hood's dress!  This line is of course Little Red Riding Hood.


As you can see from all the displays,the shop set up was Eye Candy every where you looked.


This quilt features 3D boxes and trims.


I really love,love,love this 3D pinwheel quilt,with the sideways chevrons for the boarder!


And how cute are these little ladybugs and bunnies?  I had to buy a panel!


Kelli,from (seriously.. I think it needs stitches.) created this Sweet Mod Geo Cruiser Quilt!  She used Lori Holt's newest line Gracie Girl,which is what you see all piled up below the quilt.


A little closer shot,sorry it is a bit blurry,all these photos were taken with my phone.  Hope I did not overload you with too many photos.  (I have more)

It was an Awesome three days of classes,sewing,quilty friends,fabric,and some shopping too!!!  When the next one comes around I hope to attend again :)  I learned new skills,meet new people,finally meet up with Jamie,after two years of blogging together!  She is the same Sweet person you meet on her blog!  If she gives permission I will post a photo of the two of us during the open sewing night,working on our projects.

More photos and details soon.

Wednesday, September 11, 2013

How to can/preserve Spaghetti Sauce

Lets get right to it shall we?


If you have the Ball Blue book of canning,check out the step by step for canning Tomatoes pages,they will walk you through how to process tomatoes.

Spaghetti Sauce:


  • 10 pounds tomatoes
  • 1 zucchini squash
  • 1 yellow squash
  • one large sweet onion
  • 8 cloves garlic
  • 4 medium sweet peppers or equivalent 
  • 1 chipotle pepper
  • 1 can tomato paste
  • 1 tablespoon cinnamon basil
  • 1/2 teaspoon smokey paprika
  • 3 tablespoons brown sugar
  • 6 tablespoons lemon juice


First,gather up your tomatoes from,the garden,farmers market,or where ever you are getting them.  Bring them home and give them a good washing.  Most recipes I have ever read tell you to discard the skins and seeds,I do not.  Mostly because I do not like to waste,and also because I think that they add flavor,and vitamins.  (so if you want to discard them,by all means do so)


I like a nice chunky sauce with other veggies included,so add 4 medium sweet peppers or the equivalent,of your choice of peppers.


These are the ones I will be using in my sauce.


Dice up your tomatoes in bite sized pieces and place in a large stock pot.


Do the same with your sweet peppers.


Your one large sweet onion,I used a Walla Walla.


Next peel your garlic,and then mince it up and add it to the pot.


Your zucchini and yellow squash also get diced up and added to the mix.


If you like a little heat,add one or more of your favorite chili peppers.  I used a chipotle pepper,which just gives it a little zip.  (you probably will want to chop or mince it up first)  I also added 1 tablespoon cinnamon basil,1/2 teaspoon smokey paprika,three tablespoons brown sugar,and 6 tablespoons lemon juice.


One can of tomato paste,you could add two if you like a thicker sauce.  Now stir to incorporate all of the ingredients together.  place on the stove over a medium high heat and bring just to a boil.  Reduce the heat and simmer for an hour.


While the sauce simmers,gather your canning utensils together.


Sterilize your jars and lids.  I like to use my canner,that way the water is already hot and does not take that long to heat back up to boiling.


When the sauce has simmered for an hour you are ready to start filling jars.


I find using a saucer helps to keep any spills contained.


Using your ladle,fill each jar to leave a 1/4 inch headspace.


Using your bubble remover,slide it down the sides of the jar to bring the bubbles to the top.  I also do this in the center of the jar a couple of times.


Make sure to use your clean cloth to wipe down the rim and sides (where you will screw on the ring) so that you will have a clean surface,and get a good seal.


Now take the magnetic lid tool and remove one lid and ring from the water bath.


See how the tool is a little off center?  If you go towards the side of the ring,you will get both the ring and the lid,but if you get too close to the center you will only pick up the lid.


Place the lid on the jar and tighten,make sure to use the cloth on the jar so you do not burn your hand on the Hot jar.


Oops,not enough left to fill the jar!  If this happens,just place the jar in the refrigerator and use within a couple of days.


Time to put all the jars into the canner!  If you place the first jar in the center it will be much easier,as the rack will not tip to one side.


Place the next jars opposite of each other until you have placed all 7 jars in the canner.  Carefully unhook the rack from the sides of the canner and lower into the water bath.


Almost ready to put the lid on so the water will come to a boil.


Before placing the lid on add three tablespoons of plane white vinegar to the pot.  This will help to keep the jars from getting a white film on them while processing.  Be sure to check the altitude chart for the correct time to process.  The recipe I loosely followed said 35 minutes,but at my altitude the time was 50 minutes.  So check!


When the correct processing time has elapsed,use your jar lifter to remove the jars.  It is a little easier if you hook the rack onto the sides and then remove the jars.  However Mr. P removed them for me this time,and he didn't bother with the rack.


Place the jars in a draft free place to cool.  Making sure to check the seal(remember I also tug gently on the lids to make certain they have sealed) by pressing down in the center of the lid to make sure it does not pop back and forth.


Saturday, September 7, 2013

September ALYOF Goal

It is that time again, this month I have decided to go with only One (I know crazy,right) low volume Goal.  Things have been crazy busy not only at work (which leaves me tired every evening)but also here at home,with trying to get everything from the garden put up for this winter.


I have managed to sew up a few little things,in between all the harvesting/canning.


I am going to be taking a little break from all the chaos this next week,so I sewed up these cute little pouches to use!

My Goal:


Earlier this year,my Sweet Friend Jamie over at Busy Bee Quilts sent me this wonderful embroidery book!!  So,my goal for this month is to pick something out of this book and try my hand at some hand stitching.  Deciding what to start with is turning out to be a little harder than I had expected,as all of the designs are so cute!

The only thing I need to purchase is a pen,or something to get the design onto the fabric.  Any ideas,or suggestions??

Wednesday, September 4, 2013

Bring on the Bacon ,jam that is

When trying to decide just exactly what recipe to use for my first preserving/canning how to tutorial,I was really not sure.  Should I go with a tried and true jam recipe,or take it up a notch and start with a modern take?  Well,the modern take won out,so here we go...

Utensils:

  • Large Stock Pot
  • Chefs knife
  • cutting board
  • measuring spoons
  • measuring cups
  • ladle
  • large wooden spoon
  • slotted spoon
  • Food processor
  • freezer containers (mason jars,or plastic freezer containers)

Bacon Jam:


  • 2 pounds sliced bacon (you can use pork,beef,or turkey)
  • 2 large yellow onions,peeled and thinly sliced
  • 4 cloves garlic,peeled and thinly sliced
  • 1 1/2 cups very strong black coffee
  • 1 cup packed light brown sugar
  • 1 cup cider vinegar
  • 1/2 cup pure maple syrup
  • 1 teaspoon freshly ground pepper


Cut your bacon into one (1) inch pieces.


Brown one third of your bacon at a time,in a large heavy duty stock pot.  Cook,stirring frequently until the bacon is browned.


Using a slotted utensil,remove browned bacon to a bowl or plate,you can place paper towels at the bottom to soak up more of the grease.


While the bacon is browning,thinly slice the onion and garlic.


After the last third of bacon has browned,and been removed from the pot,discard all but two (2) tablespoons of the drippings/grease,and add the onions and garlic to the pot.  Stir the the onions and garlic,and reduce the heat to medium.  Continue to cook and stir frequently,for 8 minutes,or until most of the onions are translucent.


Add the coffee,brown sugar,cider vinegar,maple syrup,and freshly ground pepper to the onions and garlic,stir well.


Bring to a boil, and boil hard for two (2) minutes.


Return all of the bacon to the pot,and stir well.  Reduce heat to low,and simmer uncovered for two to three hours.  Stirring occasionally,so nothing sticks to the bottom of the pot.  If,and Only If it looks like the liquid is evaporating and the mixture is drying out,you can add a 1/4 cup water.  (I didn't need to add any extra liquid)


When the onions are very soft and the liquid is thick and syrupy,remove from the heat and let stand for 5-10 minutes.


While the mixture is standing prepare your food processor.


Using your ladle,transfer the bacon mixture to the food processor.


Depending on the size of your food processor,you can either process the mixture in one or two batches.


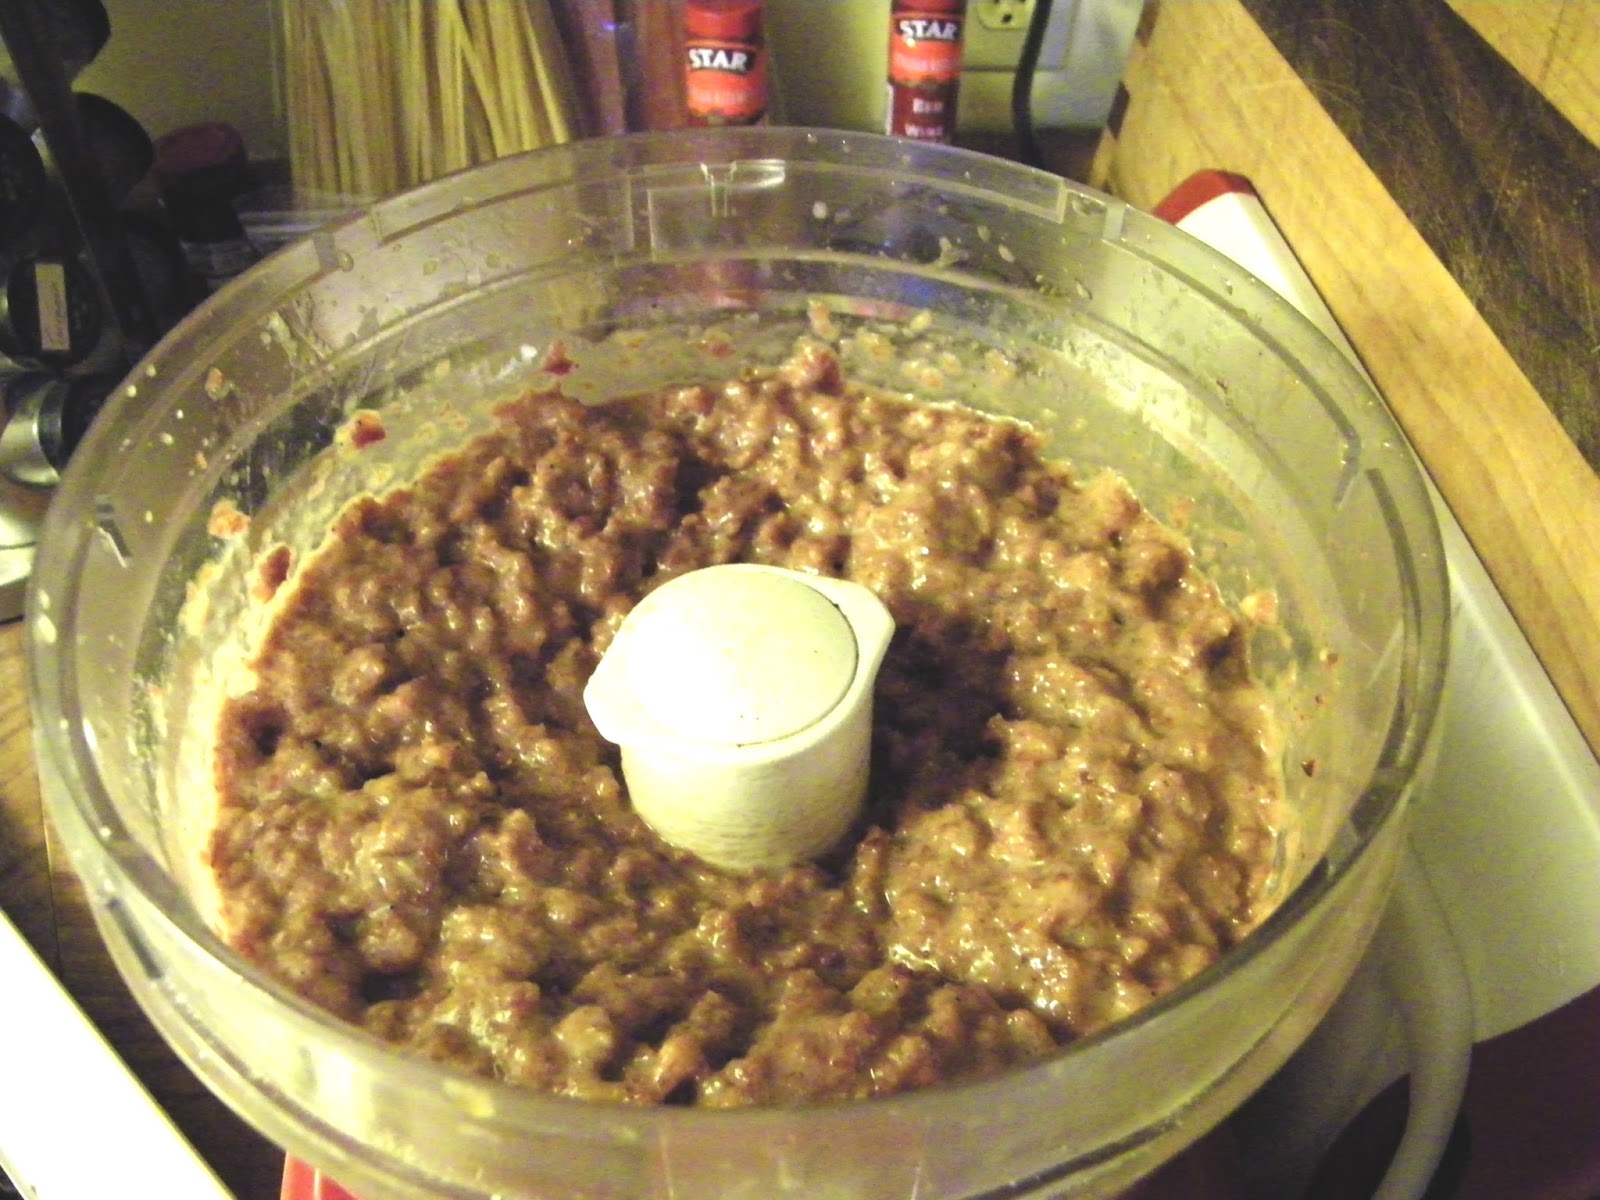
My Kitchen Aid is fairly large,so I processed all of the mixture at once.


You are looking for a spreadable consistency,so you decide how much or how little to process.


Fill the freezer container of your choice,but make sure not to fill it to the top!  You want to leave room for expansion.  I left a good 1/2-1 inch of head space.


Allow the containers to cool,label and place in the freezer.  Of course you will probably want to keep at least one,in the fridge!  (we did)

Your bacon jam will keep for up to a month in the fridge,or for 6 months in the freezer.

Now go make some toast and enjoy your very own Bacon Jam :)

Linking up at :

Clever Chicks Blog Hop

Linky Tuesday

sew darn crafty link party