Tuesday, August 14, 2012

Cheddar ~ Garlic ~ Tarragon ~ Artisan Bread Recipe

Recently a certain follower requested more recipes,and one in particular,a bread recipe to be exact.  So Sweetie,here you go ;)


           ~ Cheddar ~ Garlic ~ Tarragon Bread

Basic bread dough recipe:
1 3/4 - tsp salt
  1/2 - tsp yeast
     3 - cups unbleached flour
1 1/2 cups water

To this basic recipe you can add whatever flavorings you like,the flavors added here are as follows:

1 1/2 - cups cheddar cheese shredded
2 - cloves of fresh chopped garlic
2 - tsp tarragon fresh or dried

In a medium sized mixing bowl,combine dry ingredients and mix with a whisk or fork to thoroughly incorporate together. Add the water and mix  gently but thoroughly.  Cover bowl with plastic wrap (I use press ~ N ~ seal)  and let set on table or counter for at least 12 hours.

Sorry,no photos of this part,as it was super late last night when I mixed up the dough.


This is what my dough looked like after about 15 hours on the table.


At this point the dough is very sticky,take a spatula and scrape the dough out of the bowl onto a well floured surface.


Since the dough is very sticky,be sure to flour your hands!  Roll the dough to coat with flour.


Baking your bread:  To bake your bread you will need a baking dish with a snug fitting lid.  Check manufactures directions,to make sure that you can place your dish in the oven empty,while the oven is pre-heating.

Place baking dish in cold oven,preheat oven to 450 degrees.


When oven has reached 450 remove baking dish carefully from oven and place dough in it.  Place lid on dish and return to oven for 30 minutes.


Remove from the oven and enjoy :)  Original recipe found at Simply So Good check it out.

Sunday, August 12, 2012

Braided Block Tutorial

This tutorial is the first of two,in a two part series.  As I will be using this block to make something else,hopefully later in the week.  That being said,the coming week is going to be a very busy one so,the second part might not happen for a couple weeks.  We shall see how the week progresses...  On to the Tutorial.


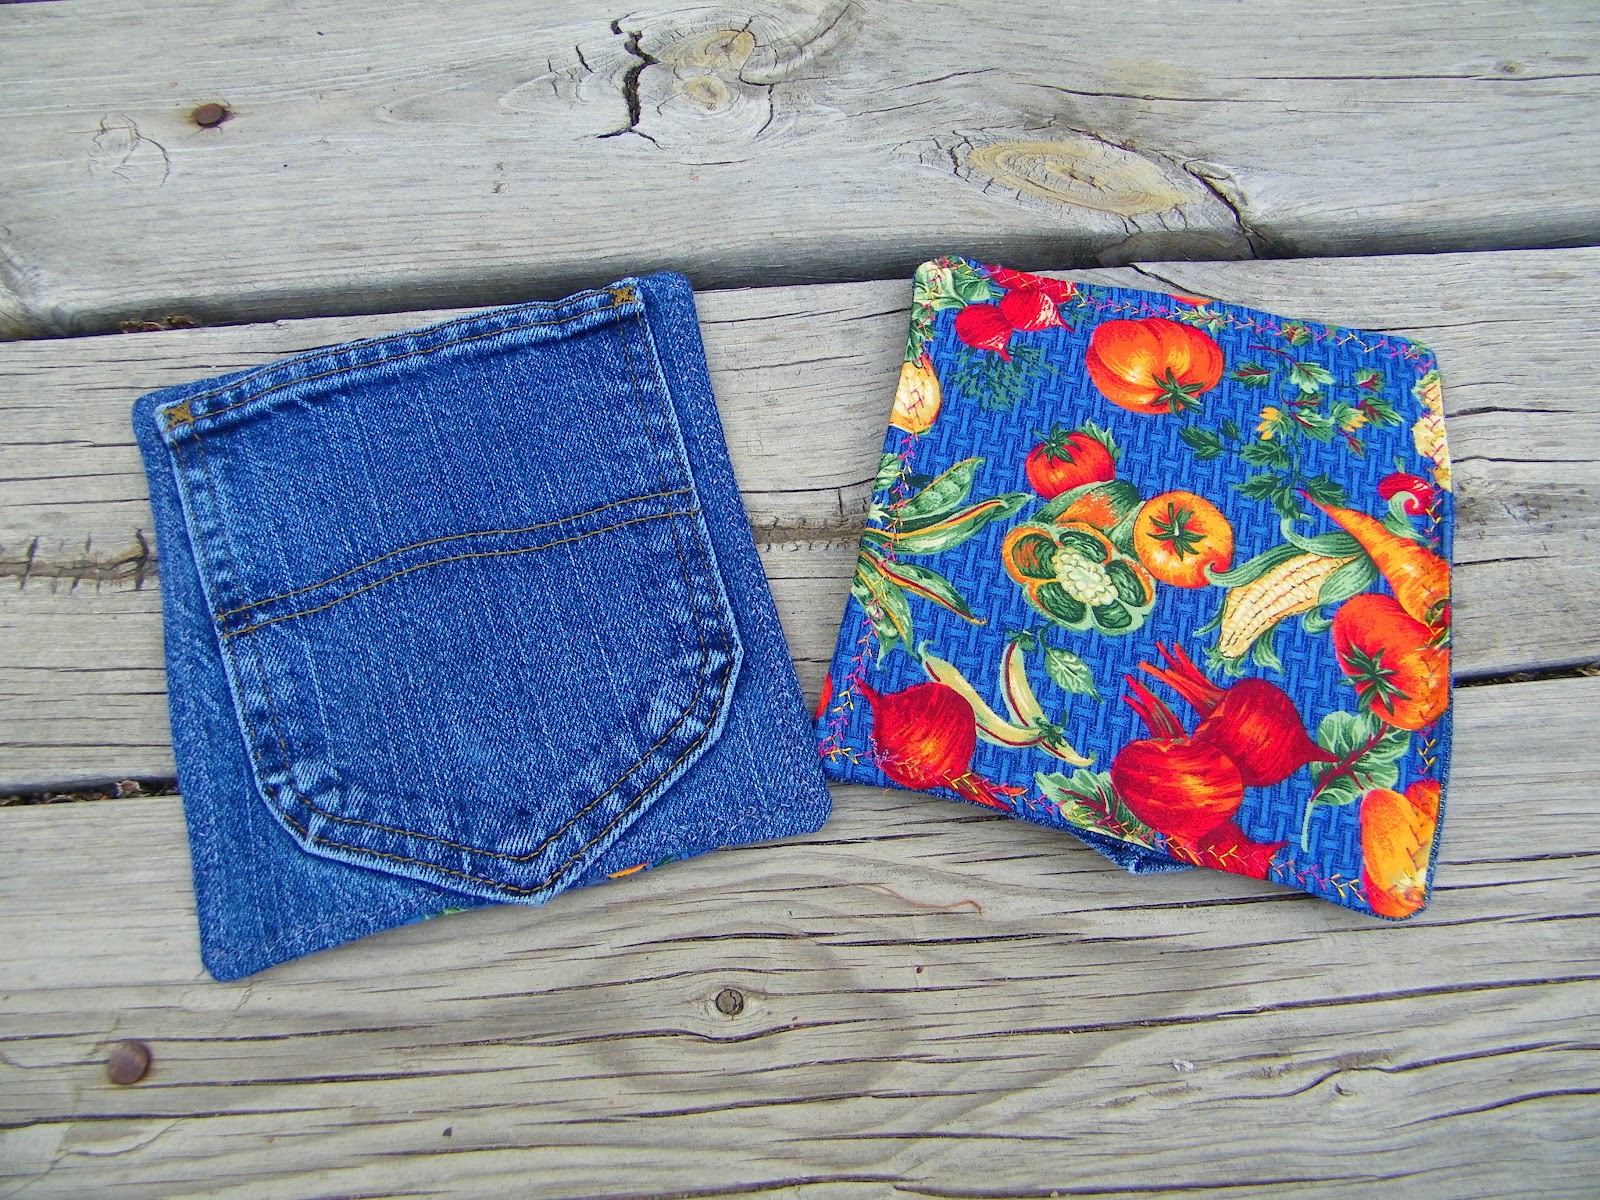
~ Braided Block Tutorial ~  The photo above is the braided block I will be making in the following tutorial.


~ Preparing your fabric strips ~  My fabric strips measure 2 1/2"x 71/2",you however can use just about any size strips,as long as they are three times as long as they are wide.  You can use as many strips as you like,as long as it is an even number, for this tutorial we will be using 26.


~ Sewing the strips together ~  Lay your first strip face up on your work surface,take your next strip and lay it face down,(or in sewing terms RST) on top of your first piece.  As shown in the above photo.


Move both strips of fabric to your sewing machine and sew along the right edge,as pictured.  You will be sewing down 2 1/2" from the top,which will connect your first two strips together.  Clip your threads and press open your seam.


Lay your two strips back on your work space,they should look like the leg and top left part of a T.  Take your third strip and place it even with the top of your half T,this will make your strip 2 1/2" short of being even with the leg of the T,don't worry about it being short.  That is how it is supposed to be.


Now place your fabric strips RST,move to your machine and sew from the top of the strip to the bottom of the top strip.


Like this .


To the end of the top fabric,now clip your threads,


and press your seam open.


Add your next strip along the top,lining it up to the right,as pictured.


Place RST sew your seam and press open as with the previous strips.


Line up your next strip as before.  Continue adding on your strips in this manner,until your strip/block is as long as you want it.  Just make sure to finish with an even amount of strips on each side when you are finished.


Here is mine with all 26 strips sewn together.


Now we need to square up the side of the strip/block.  Lay your ruler along one edge so that when you cut with your rotary cutter,you will be cutting off little triangles.


Like this photo above. Turn your strip/block around and cut/square up the other side the same way.


Time to square up the ends,line your ruler up so that the end will be nice and square and cut off the end.


Repete on the other end of the strip/block.  When finished your strip/block will look like the one at the top of the post,only with different fabrics of course :)


Here,my strip/block is cut into 4 smaller blocks,because as stated earlier,I will be making something other than a quilt with this block ;)

Hope this was easy to understand,if not feel free to ask any questions I left unanswered.  Sorry if there were too many pictures,but some people,like myself,find that (pictures say a thousand words!) even though the instructions don't make sense,the pictures do.

Saturday, August 11, 2012

Zucchini and Yellow squash Breakfast cakes...AKA Pancakes

This  morning dawned a little cooler than it has been lately.  So after being lazy and sleeping in until around 8:30 I went to the kitchen to mix up some breakfast for Mr. P and I.  Since he is a Big fan of pancakes,and we had a few zucchinis and yellow squash from the garden that needed to be used....


Zucchini and Yellow squash Breakfast cakes recipe...

   3 - cups zucchini and Yellow squash (shredded)
   1 - cup shredded cheese
   4 - large eggs
1/4 - cup oil
1/2 -  cup water
   1 - tsp salt
   1 - tsp baking powder
1/2 - tsp pepper
1 3/4 - cups flour
Fresh Cinnamon Basil


Shred/grate your squash into a medium size bowl. (the little bit of red is a sm. sweet red pepper that I needed to use up)


Crack your eggs in a bowl and whisk until  frothy.  Then add to the squash mixture and stir to incorporate.


Almost all incorporated,except for a little on the right side,you can see it is not as yellow.


Add the shredded cheese,salt,and pepper and stir to incorporate.


You probably noticed that I did not include an amount for the Cinnamon Basil,that is because the amount that tastes good to me might be too much/too little for you.  I added six buds,I like them just as much as the leaves.  You can also omit this or add a different herb of your liking.


Measure your flour and baking powder into a smaller bowl and mix with a fork or whisk before adding it to the squash mixture.


Your mixture will be pretty thick at this point.   Here you might like a little more or less water than what I used.  So stir in the oil,first then add the water until the consistency is how you want it,adding more water if needed.


Lightly grease your pan/or griddle and allow to heat up for a minute or so.


  I used a dry 1/4 cup measuring cup of batter for each cake.  Cook as you would for a regular pancake,only these you will need to let go a little longer.  After a couple minutes on either side,remove from pan/griddle and check for doneness.  Adjust cooking time accordingly.


Yield:  Will depend on the consistency of your batter,mine made 12 pancakes.


Mr. P enjoyed his with chili and green onions,mine was the photo at the top of the post,with sour cream and green onions.

Enjoy :)

Wednesday, August 8, 2012

Scraps to Hair Barretts

Here it is the middle of the week already,and what do I have to show for it???  Not much,it has been too hot to hang out in the sewing room.


Last week when cutting up all the jeans for the potholder pockets I came across a pair of overall shorts,that had Tweety rivets.  I cut them off and set them aside,to wait for inspiration to come to me.  Well last night it did!


These 4 all finished and ready to list in my shop,I still have two more to make as there were six rivets on the overall shorts.


These fabrics were pulled for a little project I hope to get to sometime this weekend ;)


Goodies from Anna Maria Horner's visit to my quilt guild last friday evening!  She brought along some lovelies in case we wanted to purchase something :)


My Indian Summer charm swap goodies arrived late last week!!!!  The FQ bundle from Pink Chalk Fabrics that coordinates beautifully with the charms :)  My head is swimming with ideas for these beauties!


When I arrived home at lunch a few more sunflowers were blooming,this is the first dark colored one!


Interested in a game of peek-A-boo?  It looks like this little pretty is :)


Have a great Thursday :)

Monday, August 6, 2012

Winner,Winner!!!

Since I have had a sever headache since last night,this is going to be short and to the point.

True Random Number Generator  1Powered by R

My international winner is Lucy,she said....

ooohhh I'm a big Coca Cola fan!! ;)
Of course I am a follower. Congratulations on 100+!
Truly I think the best thing is to be yourself, it's your blog! I love your attitude and although I'm sometimes too busy to comment I'm always reading. So I say keep on keeping on x

Thank you Lucy and congratulations ! :0)  I will be emailing you for your snail mail info.

True Random Number Generator  8


My winner from the USA is Melissa,she said....

Of course I am your follower :) I love your blog - it is the perfect mix of sewing, baking and life for me. I would love a tutorial or two for some of the awesome little bags you make, but I understand if you don't want to give those away :)

Thank you also Melissa,and congratulations to you ! :0)  Since I already have your address,you do not need to send it to me ;)

A big Thank You to all of my Awesome Followers,you Rock!

Even tho the random number generator says min:1 & Max:100 I really did enter the correct number of entries?  So you will just have to trust me on that,since I don't feel like trying to figure it out tonight :(  

Hope you had a good Monday and a even better rest of the week :)

Sunday, August 5, 2012

Introducing Potholder Pockets!

This weekend has flown by Way too fast!!


This morning started off with brunch, Baconator Pitas,at least that is what Mr. P is calling them :)  Tomatoes and lettuce fresh from the garden,yum!


This is one of two sets of potholder pockets using pockets from kids jeans.


This is the second set,can you see where I ran out of gold thread?  It was super hard to sew by the top corners of the pocket because of the metal decorations.


This set has an older veggie print from Joann's on the back side,courtesy of Mom :)

Also from Joann's,this herb print is from summer before last.  The larger the jeans the easier it was to sew the decorative stitch around the edge of the potholder.


Another veggie/harvest print courtesy Mom.  Tired of these yet?


This is the last set.  Yes yet another print from Joann's,this one is a lot more recent tho.  I really like this print and wish I had purchased more.  These pockets have been running around in my head for a while now,just waiting for some time to make them up!  Last week I ended up breaking a pair of scissors cutting up a pile of jeans,so that these could be made.  Next time I think that the kitchen scissors will be a better choice :)

Now to find time to list them in my etsy shop :)


Yet another flavor combination,BellaVitano Raspberry cheese,and Black Walnut.  Turned out wonderfully.


Have you tried the oatmeal breakfasts yet?  No?  You don't know what you are missing if you haven't!
The flavor this week,strawberry and chocolate mint.  I can hardly wait until breakfast ;)

Have a great week!